
Undertale: Last Corridor Guide: The two teams and how they play

About
OverviewUndertale: Last Corridor is a Roblox battle game built around Undertale and its fan-made Alternate Universes. You play on either the Chara Team — working with up to two teammates to take down the Sans player — or the Sans Team, using a unique moveset to hold off the group alone. This guide covers how both teams work, how to get stronger, and how to beat the Singleplayer Chara boss.
What is on this page
Contents
The two teams and how they play
Table
Every match puts up to three players on the Chara Team against one player on the Sans Team. The queue decides which side you land on each round. Each side has a completely different job.
| Chara Team | coordinate with your teammates to bring the Sans player down. |
| Sans Team | hold off the group using your character's unique moveset and a shared Stamina resource. |
| Stamina | the Sans player's core resource; every attack you throw and every hit you take drains it. |
| HP characters | a small number of Sans-side picks (mostly Papyruses) use health points instead of Stamina as their main survival stat. |
Stamina management for Sans players
Tips
Standing still refills 2.96 Stamina per second. Walking cuts that to 0.42 per second. Being hit while standing still costs 15 Stamina, but being hit while moving only costs 5. That gap is the basis of the most useful technique available to Sans players.
- Stand still to recover Stamina whenever no Chara is close enough to threaten you.
- Start moving the moment a Chara pushes in — taking a hit while moving costs 10 fewer Stamina than taking it while standing.
- Passive play from the Chara Team can recover around 30 Stamina in ten seconds.
- Never spam moves without watching your bar; running out of Stamina is a death sentence regardless of character type.
How EXP, Wins, and Upgrades work
StepEXP is awarded at the end of each round. Wins are tracked separately and are also required for most unlocks. Both feed into the Upgrade system, which can change a character's stats, add new moves, or even completely rework how they play.
- Earn EXP win a round as Chara for 30 EXP, win as Sans for 30 EXP per Chara killed, or collect 10 pity EXP for a loss.
- Use EXP Boosters boosters multiply your EXP per kill, so a three-Chara round can yield 135 EXP instead of 90.
- Buy Upgrades each upgrade costs a set amount of EXP and Wins; later upgrades cost significantly more than early ones.
- Reach Mastery hitting 10,000 EXP on any character earns a Mastery title for that character; Mastery Skins are planned as a future reward.
- Collect Daily Rewards complete one round as Sans each day to earn Chips and Wins; the reward scales up to 1,050 Chips at a streak of seven or more days.
- Note the Daily Reset missing a day resets your streak and your daily payout back to the Day 1 amount.
Chara Team basics: Vessels and Morphs
Summary
At the character selection table you choose which Chara-side role to fill. The two categories play completely differently.
- Vessel your custom character who picks a weapon from Killer's Kiosk and fights with it directly.
- Chara Morph a preset character with fixed abilities that deal damage, debuff the Sans, or heal teammates.
- Weapons Killer's Kiosk currently offers 20 unlockable weapons, most gated by Wins; a few require a True Reset or a specific badge.
- Weapon EXP reaching 10,000 EXP on a weapon earns a title in that weapon's color.
- Upgrades available the SINGLEPLAYER: Chara badge, once earned, opens the final upgrades for multiple Chara Morph characters.
Beating Singleplayer Chara — Phase 1
Step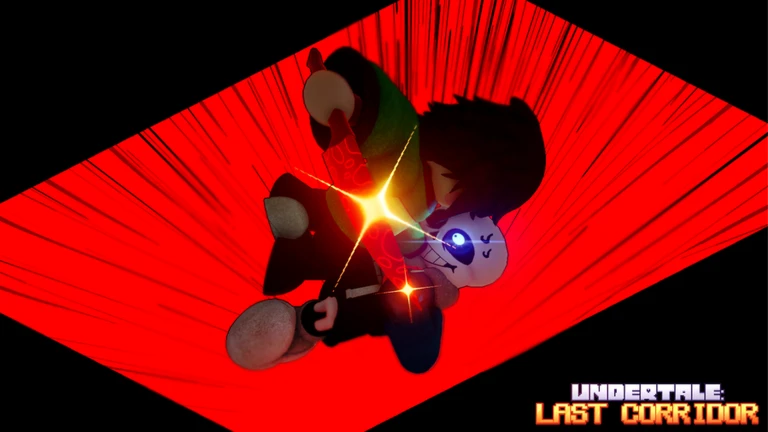
Singleplayer Chara is the only boss in the Singleplayer area, which sits to the right of the Lobby Corridor. Phase 1 ends when you lower Chara's HP from 99 down to 70, dealing exactly 1 damage per hit — so you need 29 successful hits total.
- Enable Shiftlock go into your Roblox settings and turn Shiftlock on before the fight; it steadies your camera while you move diagonally and makes landing hits much easier.
- Enable jumping if jump is locked when you load in, die to any boss once and it unlocks; being able to jump turns Knife Row from a serious threat into something you can clear without breaking stride.
- Keep moving Determination Pillar and Knife Box stack up damage fast if you stop.
- Approach at a diagonal walk toward Chara in an X pattern so you are already sidestepping if a Knife Box spawns directly ahead of you.
Beating Singleplayer Chara — Phase 2
StepOnce Chara's HP hits 70, your standard attack stops working. Three pieces of your shattered FIGHT button scatter across the battlefield. Walk over all three to reclaim the Real Knife and deal a single 10-damage hit — then the knife is gone and you start collecting again. Repeat the full cycle seven times to finish the fight and earn the SINGLEPLAYER: Chara badge.
- Collect all three FIGHT pieces you cannot attack until every piece is picked up.
- Wait out the next attack before grabbing a piece near a wall pieces near corners leave you little room to dodge; let the current attack pass before committing.
- Move in straight lines SOUL-Beam Boxes are harder to dodge than Phase 1 knives; keeping to a plus-sign path reduces the risk of clipping a beam.
- Check the back of the arena regularly SOUL-Beam Row fires a lingering beam you cannot just jump over, so spot it early and run to an open gap instead of chasing a FIGHT piece.
- Jump sporadically it can cause SOUL-Beam Boxes to aim above your head, buying a few seconds to regroup or grab a piece.
Badges and what they unlock
Tips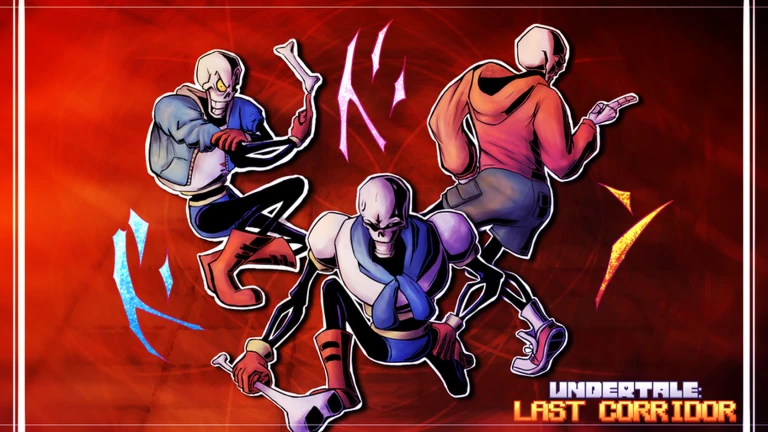
Badges fall into four groups: Singleplayer, Multiplayer, Event, and Gamepass. Some are no longer obtainable because the related content was removed or an event ended.
- SINGLEPLAYER: The Absolute — defeat Singleplayer Chara to unlock the Determination Soul trait and final upgrades for Chara Team morphs; currently marked unobtainable, so the rewards it once granted are suspended.
- MULTIPLAYER: Reset — sacrifice 1,000 Wins to perform a True Reset, which unlocks special characters and options for both teams including Pacifist Stick, Red, Green Sans, and Dustbelief Papyrus.
- Conquered — earned through an event and unlocks 3DBB Sans in multiplayer.
- Halloween 2022 — earned by defeating the Halloween 2022 event boss and unlocks Helptale Chara.
- Christmas 2022 — earned by finishing the Christmas 2022 quests and unlocks Ice Sans on the Sans Team.
- Gamepass badges (Sixbones, Possession Sans, Underswap Sans) — awarded automatically when you buy or receive the matching gamepass, granting those characters immediately.
Storyshift Chara — playing on the Sans Team
TipsStoryshift Chara unlocks at 350 Wins and fights on King's Hotel with a round timer of 500 seconds. Their visible HP shows 99, but their real HP pool is 1,200. The Bloodlust meter is the engine of every decision you make.
- Start each round with 5 Bloodlust — every ability you use costs 1, and every hit on a Chara member refills 1.
- Upgrade 4 adds the Absolute passive — a DETERMINATION meter fills as you land hits; when full it lets you survive what would otherwise be a killing blow and revive once.
- Storyshift Chara is heavily melee-oriented and will struggle against opponents who keep their distance.
- Phase 2 activates after 1,200 HP is depleted — the character shifts to an HP model with 1,250 HP and 25% Resistance.
Glossary
Glossary- AU (Alternate Universe)
- A fan-made setting built on the Undertale world; the game features characters from many different AUs alongside the original cast.
- Vessel
- The Chara Team role that lets you pick a weapon from Killer's Kiosk and fight with it directly.
- Chara Morph
- A preset Chara Team character with fixed abilities that deal damage, debuff the Sans player, or heal teammates.
- Stamina
- The Sans Team's main resource, consumed by using moves and by taking hits, and slowly refilled by standing still or walking.
- True Reset
- A multiplayer action that sacrifices 1,000 accumulated Wins to unlock special characters and options for both teams.
- Bloodlust
- Storyshift Chara's passive meter that costs 1 per ability used and refills 1 per hit landed on a Chara team member.
- Mastery
- A status earned by reaching 10,000 EXP on a single character, currently shown as a title with Mastery Skins planned for a future update.
- Killer's Kiosk
- The in-game shop where Vessel players select and unlock weapons, with most options gated by Wins.
- FIGHT button pieces
- Three collectible fragments that appear in Phase 2 of Singleplayer Chara; collecting all three restores your ability to attack.
- EXP Booster
- A consumable that multiplies EXP earned per kill for a limited time, available as part of Daily Rewards.
Common questions
FAQWhere do I start the Singleplayer Chara fight?
Head to the right side of the Lobby Corridor to find the Singleplayer area. Singleplayer Chara is currently the only boss there.
Why can't I jump when I load into Singleplayer?
Jump is sometimes disabled when you first enter a Singleplayer session. Dying to any boss in the session once re-enables it. Being able to jump matters most during Chara's Knife Row attack, which you can clear by jumping over it.
What does the True Reset actually cost?
A True Reset costs exactly 1,000 Wins, which resets your win total back to zero. In exchange it unlocks characters and options unavailable any other way, including Pacifist Stick, Red, Green Sans, and Dustbelief Papyrus.
How do Daily Rewards work, and what do I get?
Complete at least one round as the Sans player on any given day to claim that day's reward. Rewards start at 150 Chips and 2 Wins on Day 1 and climb each consecutive day you log in and play, reaching 1,050 Chips at a streak of seven or more days. Miss a day and the streak resets back to Day 1.
Game updates can change what is on this page. If you spot something, get in touch and let us know.