
Tuantu's lobotomization branches — Controls to learn before anything else
About
OverviewTuantu's Lobotomization Branches is a Roblox action RPG based on Lobotomy Corporation where you manage strange creatures called abnormalities, grind for better gear, and fight to keep your facility from falling apart. This guide covers the controls, how abnormality management works, how to earn EGO equipment, and what to do when the toughest threats show up. Note that the game contains bright, flashing lights — stop playing if that affects you.

What is on this page
Contents
Controls to learn before anything else
Check
The game uses a lot of keys. Open Settings with P any time you need a reminder. The encyclopedia at J holds the work preferences for every abnormality you have unlocked information on.
- Q dash, used for both movement and dodging attacks
- F block and parry, timed to the moment an attack lands
- T check your character's current stats
- J open the encyclopedia to look up abnormality details
- G use a stim to recover HP or SP mid-run
- Z open the minimap to track what is happening across the facility
- L open the public EGO pool to browse shared EGO equipment
- V carry another player or object
- M check your currently equipped Gifts
How abnormality management works
Tips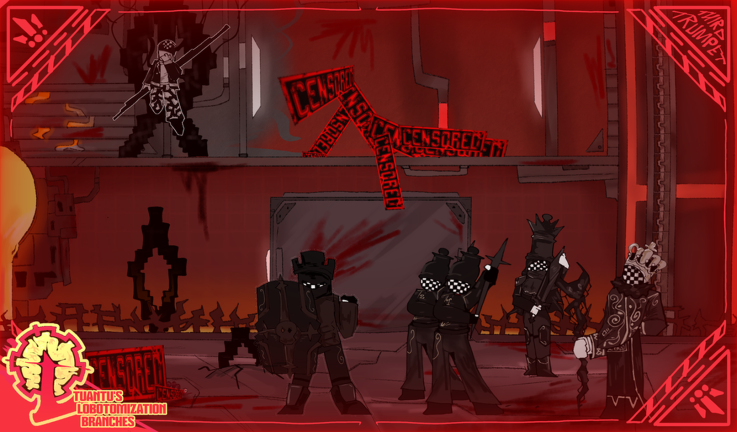
Every abnormality has a panel beside its door showing its Qliphoth counter, preferred work types, and available EGO gear. You interact with abnormalities through four work types — Instinct, Insight, Attachment, and Repression — and each one ties to your stats. When the counter hits zero, something dangerous happens.
- Check the encyclopedia with J before assigning work — each abnormality has different success rates per work type at each stat level
- Lobco responds well to Insight and Attachment; Instinct and Repression actively hurt her health and lower every work chance by 10%
- If Lobco starts crying, switch to Attachment work immediately — doing Attachment while she is crying improves her health
- Feeding Lobco kelp during Attachment work gives a large health boost; the cafeteria starts selling kelp once she is in the facility
- Bees works best with Attachment (up to 65% at level 5) and has a 0% Repression chance at every level
- Fumos drops its Qliphoth counter by 2 on a Bad result; a Good result raises the counter by 1 and a Normal result when the counter is at 1 will not reduce it further
- DvD Man's counter drops when an agent's Temperance and Insight stats are both below level 2
- Deep Sea Bunny's tank gets dirtier over time; run Insight work to clean it, because dirty water makes all other work harder and more damaging
- Chlomaki's counter drops by 2 whenever Lobco cries, so keeping Lobco calm protects both abnormalities at once
Earning EGO equipment
Step
EGO weapons, suits, and gifts make your agents stronger. Each abnormality has four observation levels, and you unlock them by spending PE Boxes. Reaching level 4 opens everything that abnormality offers. Some abnormalities only give one or two pieces of equipment, so check the encyclopedia before deciding where to spend your PE Boxes.
- Spend PE Boxes on Basic Information first this reveals the abnormality's name, risk level, damage type, E-Box count, and Qliphoth counter
- Unlock Work Preferences to see the exact success rates before sending agents in
- Push to observation level 4 to open E.G.O. equipment The Intelligence unlocks a weapon, suit, and the Intelligence Gift at max level; Fumos unlocks only a weapon (the Gohei)
- Equip Gifts via M gifts give passive bonuses such as Lobco's gift adding Temperance and Prudence, or the Twilight Gift adding 25% damage
- A Good work result on Chlomaki gives the working agent temporary resistance to black damage
Surviving the Apocalypse Bird event
Warn
Apocalypse Bird spawns when Punishing Bird, Judgement Bird, and Big Bird all reach the Entrance to the Black Forest. If two of those birds breach containment, the third will breach on its own no matter what its counter shows. The Entrance has 13,000 HP but resists all damage at x0.3. Apocalypse Bird itself has 330,000 HP and is immune to all damage types — you must destroy all three eggs to suppress it.
Personal rewards from suppressing department meltdowns
Summary
Suppressing a department's core meltdown earns you a permanent passive reward that stacks with everything else.
- Malkuth Justice stats give you more walk speed
- Yesod PE Box and Lob point gains increase by 25%
- Hod every stat gains a flat +15 base points
- Netzach healing stations heal 10% more
- Tiphereth stim count increases by 2, and work speed with abnormalities improves by 25%
- Chesed HP and SP stims heal 20% more
- Gebura gain 1 extra base talent point
- Hokma all stat caps raise by 10
- Binah EGO Gift drop chance increases by a flat 3%
Growing your agent from tier 1 to tier 5
TipsYour agent tier goes from 1 to 5, and hitting the maximum unlocks a permanent 20% base growth rate boost.
- Stims (G key) recover HP or SP mid-run; the Tiphereth meltdown reward gives you 2 extra stim charges
- The TUANTU THEATRE badge requires finishing Day 1 through Day 50 solo, within 13 hours across sessions, with fewer than 15 total deaths — it is currently unobtainable and will be available in the future
Glossary
Glossary- Abnormality
- A creature or entity inside the facility that agents work on to produce Enkephalin energy; each has its own risk level, Qliphoth counter, and work preferences.
- Qliphoth Counter
- A number on each abnormality that drops when work goes badly and hits zero to trigger a breach or worse.
- EGO Equipment
- Weapons, suits, and gifts unlocked by reaching observation level 4 on an abnormality, giving agents stronger combat stats and passive effects.
- PE Boxes
- The resource you spend to unlock information tiers and observation levels for abnormalities.
- Risk Level
- A rating that shows how dangerous an abnormality is, running from ZAYIN (lowest) up through TETH, HE, WAW, and ALEPH (highest).
- Core Meltdown
- A department-wide crisis that, when suppressed, rewards the player with a permanent passive bonus.
- Ordeal
- A failed abnormality that cannot be contained and instead roams the facility during Qliphoth meltdown events.
- Stim
- A consumable triggered with G that restores HP or SP; the number you can carry increases if you suppress Tiphereth's meltdown.
Common questions
FAQWhy does my Qliphoth counter keep dropping even when I keep working?
Each abnormality has different preferred work types, and using the wrong one gives Bad or Normal results that lower the counter. Open the encyclopedia with J to check which work type scores highest for that abnormality, then switch to it. Good results are the only reliable way to raise the counter back up.
How do I get EGO equipment?
Spend PE Boxes to unlock each observation level for an abnormality until you reach level 4, which opens all of that abnormality's EGO gear. The type of gear varies — The Intelligence gives a weapon, suit, and gift, while Fumos only gives a weapon.
Can I stop Apocalypse Bird from spawning?
The only way to prevent it from appearing is to keep at least one of the three birds — Punishing Bird, Judgement Bird, or Big Bird — from breaching at the same time as the other two. Once all three breach, the event starts automatically. Wearing the Twilight weapon or suit after you have already suppressed Apocalypse Bird will prevent it from spawning in future sessions.
What happens if Lobco cries?
Her crying also drops Chlomaki's Qliphoth counter by 2, so the problem spreads to a second abnormality fast. Switch to Attachment work on Lobco immediately, or feed her kelp during Attachment work for a bigger health recovery. Doing Attachment while she is already crying improves her condition.
What are facility owner commands used for?
They let the facility owner manage the session through the chat box — kicking or banning disruptive players, unbanning them later, resetting the in-game day, or shutting down the session entirely. Type the command directly into chat to run it.
Game updates can change what is on this page. If you spot something, get in touch and let us know.