
Undertale Dungeons Guide: Getting started

About
OverviewCHARA! Undertale Dungeons is a cooperative Roblox RPG set in the world of Undertale, where you collect weapons, armor, spells, and items to grow stronger as you push deeper into the Underground. You can build your character as a warrior, a mage, or a mix of both, and most dungeons can be tackled with friends. This guide walks you through your first steps, the early dungeon progression, mid-game grinding, and the toughest endgame fights.

What is on this page
Contents
Getting started
Step
When you first load in, the game asks you to design your character's appearance. Once you enter the game world, you will see three portals side by side and a leaderboard area near True Lab. Head to the leftmost portal, labeled The Ruins - Easy, to create your first lobby.
- Design your character pick any look you want, then step into the game world.
- Find the portals three stand side by side; the one you want is on the far left, The Ruins - Easy.
- Open a lobby selecting the portal creates one that friends or random players can join.
- Invite others you can send invites before starting if you want company.
- Start the run hit the big Go button when everyone is ready.
- Check your starting gear you begin with a Stick (3 Attack, 3 Magic) and a Bandage with no stats.
The Ruins — three difficulties explained
Summary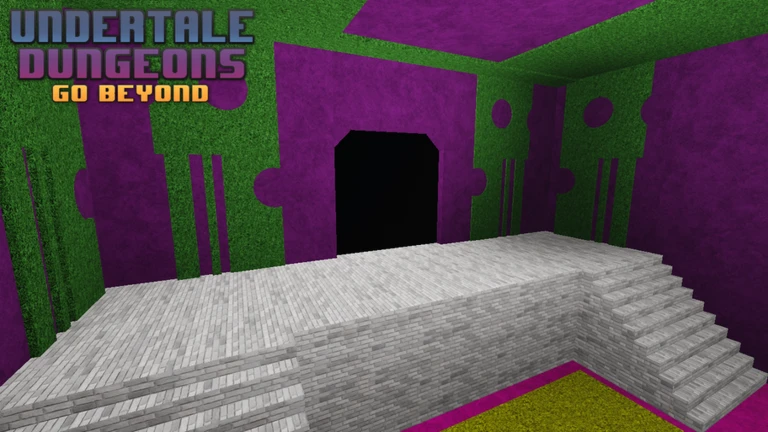
The Ruins is the opening area and comes in Easy, Medium, and Hard. Each difficulty unlocks the next, and every boss drops an item you should put on immediately.
- Ruins Easy Enemies are Froggit, Moldsmal, Whimsun, and Napstablook, who is also the boss. Clear this dungeon two more times after your first win to unlock Ruins Medium.
- Ruins Medium Enemy HP rises to 35, two extra Whimsuns appear, and Toriel replaces Napstablook as the boss. Grind here until you are strong enough for Hard.
- Ruins Hard Enemy HP jumps to 80 and another Whimsun is added. The boss gauntlet is Napstablook (buffed HP) followed by a buffed Toriel. Clearing this opens the path to Snowdin.
- Secret room ??? somewhere in the Ruins a hidden corridor leads to Rancer (999,999,999 HP). The level requirement is 1, but you need at least two players each with 1,000 HP and a heal pulse, because Rancer inflicts a poison that drains 50 to 100 HP per second from anywhere on the map.
Snowdin — what changes and how to survive it
TipsSnowdin is noticeably tougher than the Ruins. Enemy HP values are much higher across all three difficulties, so spend time upgrading your weapons and armor between areas.
- Snowdin Easy has Lesser Dog, Ice Cap, and Mad Mew Mew as enemies; regular enemies sit at 175 HP and the boss Mad Mew Mew has 2,000 HP.
- Snowdin Medium increases Ice Cap to 250 HP and Lesser Dog to 275 HP; the boss swaps to Great Papyrus at 8,000 HP, but his attacks are slow enough to make him manageable.
- Snowdin Hard pushes regular enemies to 650 HP and puts Mad Mew Mew and Great Papyrus in the same room with a combined 10,000 HP — focus Mad Mew Mew first.
Mid-game progression path
Check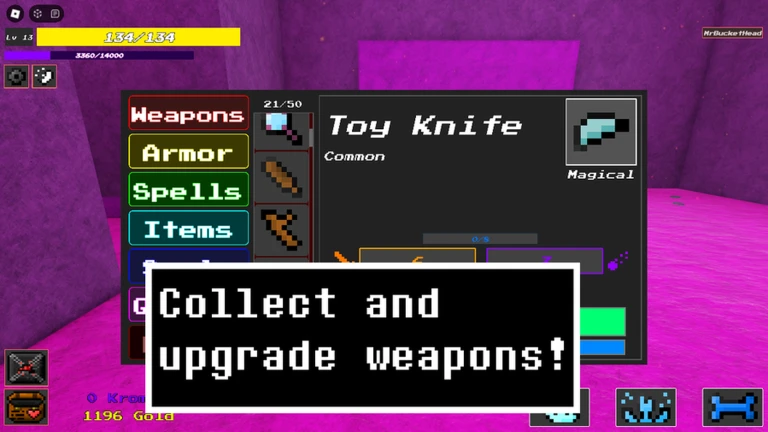
After Snowdin, the Underground opens up significantly. Each new area introduces new spell requirements and gear benchmarks.
- Waterfall collect Dummy Wall and Pellets of Justice; keep Dog Bomb from Snowdin.
- Undyne the Undying farm her for a weapon and armor drop, then upgrade magic on the weapon and split your armor upgrades 50% Defense and 50% Magic.
- Hotlands replace Dummy Wall with Spider Shot or Spider Dance once you reach around level 60.
- CORE you need the NEO Armor and NEO Cannon before attempting this area; also pick up Heal Pulse here for later fights.
- Asgore (around 200 million HP) beat him repeatedly for Asgore Trident and Guard; Asgore Flames has a chance to drop after roughly 25 clears. Switch to a Strength build once you have Asgore Flames.
- Omega Flowey (around 150 million HP) try him once you can deal at least 500,000 damage with Asgore Flames; note that healing is disabled except during the Six Souls cutscene.
Grinding by level range
Table
The right farming spot changes dramatically as you level up. Here is the recommended target for each bracket.
| Level 1–79 | farm the highest dungeon you can clear; join other players for anything you cannot clear solo, since co-op gives more EXP and gold. |
| Level 80–114 | farm Asgore for EXP and gold, sell unneeded drops, and use EXP Boosters and Soul Tokens; Hopes and Dreams is considered easier than Omega Flowey if you are stuck. |
| Level 115–129 | Asgore drops 20,000 EXP and 100,000,000 gold per clear; farm Sans for A-1 Hoodie drops rather than raw EXP. |
| Level 130 and above | Endless is the best overall source of loot and EXP; use Megalo Strike Back if Endless is not yet reachable. |
Megalo Strike Back — preparation and strategy
StepMegalo Strike Back requires level 130 and is played solo. The fight has two stages: first a large wave of Determination Deformations, then Chara. This is the longest battle in the game. A known bug can cause enemies to leave the map and block progress to the Chara stage.
- Meet the requirement reach level 130 and build your HP up to between 10,000 and 99,999 before entering.
- Stock consumables bring 80 E-Sodas and between 120 and 200 Small Health Potions.
- Upgrade your armor if you have Perfected A-1 Hoodie, use the Gear Levels upgrader to push it to level 10 before the fight.
- Deformation strategy (Barracuda Bomb V4 users) group the Deformations into a single line and hit them all at once with Barracuda Bomb V4.
- Deformation strategy (everyone else) eliminate Deformations slowly one at a time; too many active at once will slow your character and cause rapid damage. Recommended spells are Magma Sword, Electric Sword, Gaster Blaster, or Bone Storm.
- Know the rewards clearing the dungeon can drop The Real Knife, The True Locket, Knife Throw, and Determined Soul.
Chara's four attack patterns
Table
Chara fires knives in four distinct patterns. Once the last pattern finishes, the cycle repeats from the beginning. Chara deals the same damage per hit as the Determination Deformations.
| Horizontal and vertical knives | jump diagonally to clear both lines at once. |
| Diagonal knives | jump straight up or straight sideways to avoid the angled spread. |
| Vertical and diagonal knives | jump backward relative to the direction you were facing. |
| All-direction knives (horizontal, vertical, and diagonal combined) | jump in any of the eight directions, but the safe gaps are smaller so you need to move faster. |
Notable badges worth knowing
TipsBadges are awarded for achievements outside the main dungeon loop. Several are tied directly to boss clears, while the rarest ones demand significant gold and ticket investment.
- Beat Omega Flowey to earn You beat Photoshop Flowey, beat Asriel for You beat the god of hyperdeath, beat Sans for THE END, and beat Chara for Megalo Strike Back.
- Chaos Chaos! is awarded for defeating Jevil.
- BIG SHOT! comes from defeating the strongest version of Spamton NEO.
- BIG SHOT MASTERY is the hardest badge in the game and requires purchasing Big Shot Mastery, which costs 10,000 Tickets and a large amount of gold.
- Lookin' sus is earned by defeating the Black Impostor; Very Sussy requires defeating its second phase.
- Lost, and never coming back is awarded for defeating Spamton NEO V2 and meeting the man behind the tree.
Glossary
Glossary- L.O.V.E
- Your character's level, which unlocks new areas of the Underground as it rises.
- Determination Deformation
- An enemy in Megalo Strike Back with roughly 5 billion HP; having too many active at once slows your character.
- Chara
- The final boss of Megalo Strike Back, with roughly 100 billion HP and four cycling knife-attack patterns.
- E-Soda
- A consumable recovery item recommended in large quantities for long fights like Megalo Strike Back.
- Gear Levels upgrader
- A station that lets you raise the level of your equipped armor and weapons.
- Soul Token
- A resource used during the mid-game grind to increase EXP gains.
- Rancer
- The hidden boss found in the secret ??? corridor in the Ruins, notable for dealing constant poison damage from anywhere on the map.
Common questions
FAQWhich portal do I enter first?
Walk up to the three portals in the game world and choose the one on the far left, labeled The Ruins - Easy. Select it to create a lobby, then press Go when you are ready to start.
How do I unlock Ruins Medium?
Clear Ruins Easy a total of three times.
Snowdin Hard has two bosses at once — how do I handle that?
Mad Mew Mew and Great Papyrus appear together with a combined 10,000 HP. Target Mad Mew Mew first to remove one source of pressure, then finish off Great Papyrus.
Enemies jumped out of bounds in Megalo Strike Back and I cannot reach Chara. What do I do?
This is a known bug in the dungeon. If it happens there is no in-game fix, so you will need to leave and restart the dungeon.
Game updates can change what is on this page. If you spot something, get in touch and let us know.