
Deathrun Guide: The two roles
About
OverviewDeathrun is a race through trap-filled obstacle courses where up to 15 players compete each round — most as Runners trying to reach the end, one as the Killer trying to stop them. This guide covers how each role works, how to handle traps on specific maps, how to earn coins and gems, and what to do between rounds in the lobby.
What is on this page
Contents
Player notes and tips
Found a useful trick? Share it with everyone! Notes with screenshots are welcome!
Write a guide note
Deathrun 🏃♂️💨
The two roles: Runner and Killer
Table
Runners move through the course trying to reach the endpoint at the end of the map. When a Runner reaches the endpoint they enter the Killer's path. The Killer sits at a control panel and presses buttons to activate traps, trying to eliminate Runners before they get through.
| Runner | survive each trap, reach checkpoints, and get to the endpoint |
| Killer | press trap buttons to eliminate Runners before they finish the course |
| Checkpoints | save your position; if you die you respawn there as a ghost |
| The Hand | a force that slowly moves through the course and kills anyone who falls too far behind |
| Endpoint | reached at the end of every map; takes surviving Runners into the Killer's area |
MetaNew Player Survey

The next survey is being prepared.
Surviving traps: map-by-map advice
Tips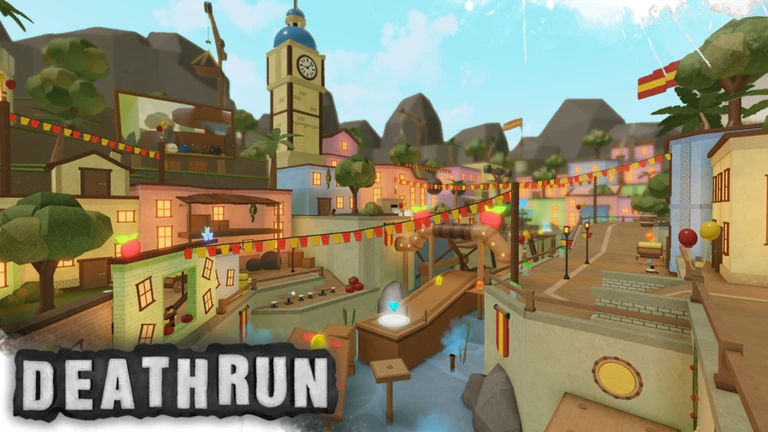
Each map has its own set of traps with individual cooldowns or locking behaviour. Locking traps stay active until reset; cooldown traps give you a window to pass after they fire.
- Training Course, Trap 7 (Dojo Guards): hug the sides of the dojo
the guards will not chase you if you stay along the outer edges
- Training Course, Trap 8 (Rolling Log): pick up a pot during the first section, then throw it at the stairway when the log rolls
the pot can stop it, but bad timing sends the log straight back at you
- Training Course, Trap 11 (Retracting Platforms)
the third and fifth platforms never fully retract, so treat them as risky safe zones when the trap fires
- Safety First!, Trap 4 (Bulldozer): there is a safe spot in the middle of the right-hand wall
stand there and the bulldozer passes without hitting you
- Castle Defense, Trap 2 (Cannons)
the platform supports stay solid even after the cannons fire, so skilled players can stay on the supports and avoid the blasts
- Ancient Jungle, Trap 9 (Bombs)
pick up the bombs the moment they spawn and throw them away from yourself before they detonate
Agility mechanics you will encounter
Check
Some maps include agility mechanics in specific sections. These change how you move and cannot be found in the Killer's area.
- Wall climbing surfaces are marked with arrows you can move in all four directions and jump off at any point
- Ziplines always travel downward from their highest point to their lowest; you are automatically ejected at the end
- Sliding surfaces remove your ability to stop once you step on one you keep moving in the direction you started
- Wall climbing appears in Isla Louca, Ice Cavern, Safety First!, Jurassic Volcano, Senzai Dojo, and Treacherous Taiga
- Ziplines appear in Isla Louca and Treacherous Taiga
- Sliding surfaces appear in Aquatic Adventure
Earning coins and gems
TipsCoins come from playing rounds, reaching checkpoints, and picking up coins scattered across maps. Gems are found only inside maps.
- Reach checkpoints while alive
each one awards XP and coins automatically
- Scan the floor as you run
coins and gems are placed throughout maps
- Break objects
smashing a breakable crate or pot can drop a coin or gem
- Visit the lobby sprinkler
it launches coins and gems you can collect during the intermission
- Fish at the lobby fishing spots
successful catches reward currency and gadgets
What to do in the lobby
Tips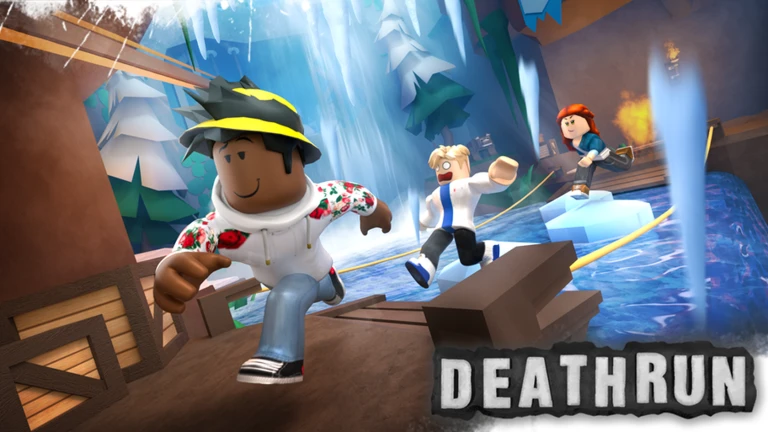
After each round every player is sent to the lobby for at least 15 seconds. During that window you can do more than just wait.
- Vote for the next map
- Head to a fishing spot
every successful catch rewards currency, gadgets, or experience
- Chase the sprinkler
it launches coins and gems across the lobby floor
- Complete the small obstacle course in the cave to reach the top and activate the dragon and turret
- Look for the hidden golden apple objective in the cave
completing it earns a permanent badge
Shop items: weapons and trails
Table
The table below shows a selection of always-available weapons with their costs.
| Weapon | Cost | Availability |
|---|---|---|
| Toy Sword | Free | Always available |
| Stop Axe | 25 Gems | Always available |
| Rolling Pin | 120 Coins | Always available |
| Frying Pan | 120 Coins | Always available |
| Hallows Sword | 250 Coins | Always available |
| Linked Sword | 260 Coins | Always available |
| Brigands Sword | 300 Coins | Always available |
| Highlander | 300 Coins | Always available |
| Claymore | 300 Coins | Always available |
| Diamond Blade | 400 Coins | Always available |
| Blizzard Striker | 950 Coins | Always available |
| Blade of the Lands | 1000 Coins | Always available |
| Firstblade | 8000 Coins | Always available |
| Starlight | 12500 Coins | Always available |
| Tiger's Wrath | 60 Gems | Always available |
| Spring Flower | 60 Gems | Always available |
| Lucky Blade | 140 Gems | Always available |
| Red Lightsaber | 140 Gems | Always available |
| Green Lightsaber | 140 Gems | Always available |
| Blue Lightsaber | 140 Gems | Always available |
| Unicorn Avenger | 800 Gems | Always available |
| Pizza Sword | 1000 Gems | Always available |
Badge milestones worth tracking
SummaryBadges unlock the moment you hit a threshold. The main tracks reward playtime, coins collected in any way, coins picked up inside maps, gems picked up inside maps, and gadgets used as a Runner.
- Coin Collector
100 / 600 / 2,500 / 15,000 / 50,000 total coins earned
- Dangerous Treasure
25 / 100 / 500 / 2,500 / 10,000 coins picked up inside maps
- Glittering Gems
25 / 100 / 500 / 2,500 / 10,000 gems picked up inside maps
- Power Player
30 / 90 / 240 / 600 / 1,800 minutes spent in the game
- Gadgets Galore
3 / 20 / 60 / 150 / 300 / 1,000 gadgets used as a Runner
- Fanatic Fisherman
3 / 10 / 25 / 60 / 150 / 500 successful catches from lobby fishing
Glossary
Glossary- Runner
- A player whose goal is to navigate the trap course and reach the endpoint.
- Killer
- The player who activates traps to eliminate Runners before they finish.
- The Hand
- An automatic hazard that moves through the course and kills any Runner who lags too far behind.
- Checkpoint
- A marker on the course that saves your progress; if you die you respawn there as a ghost.
- Endpoint
- The finish point of every map; reaching it sends surviving Runners into the Killer's area.
- Locking Trap
- A trap that stays active once triggered and does not reset until the round ends or the game resets it.
- Cooldown Trap
- A trap that resets after a set number of seconds, giving Runners a window to pass safely.
- Gem
- A collectible found only inside maps that contributes to the Glittering Gems badge track.
- Gadget
- An item Runners can use during a map, tracked by the Gadgets Galore badge series.
- Sliding Surface
- A surface that removes your ability to stop once you step onto it, forcing you to keep moving.
Common questions
FAQWhat happens when I die as a Runner?
You respawn at your last checkpoint as a ghost. Players who join mid-round also spawn as a ghost at the furthest checkpoint any Runner has already reached.
How do I deal with the Rolling Log on Training Course?
Pick up one of the pots in the first section of the map and carry it to the stairway. When the log rolls down, throw the pot at it to stop it. Be careful — if your timing is off the log can bounce back and kill you.
Do I need to stand on a checkpoint to save my progress?
No. Checkpoints activate the moment you reach them and can only trigger once per round. The killer is notified the first time any Runner hits a new checkpoint, while you get your own notification when you personally reach one.
What is the difference between Coin Collector and Dangerous Treasure badges?
Coin Collector tracks every coin you earn by any means. Dangerous Treasure only counts coins you physically pick up from the floor inside a map. Running through maps and grabbing floor coins advances both tracks at the same time.
Can I buy weapons with gems as well as coins?
Yes. Many weapons are priced in gems rather than coins — for example the Stop Axe costs 25 gems and the Unicorn Avenger costs 800 gems. Some weapons use coins and some use gems.
Game updates can change what is on this page. If you spot something, get in touch and let us know.