
TUNNELER Guide: Before you start
About
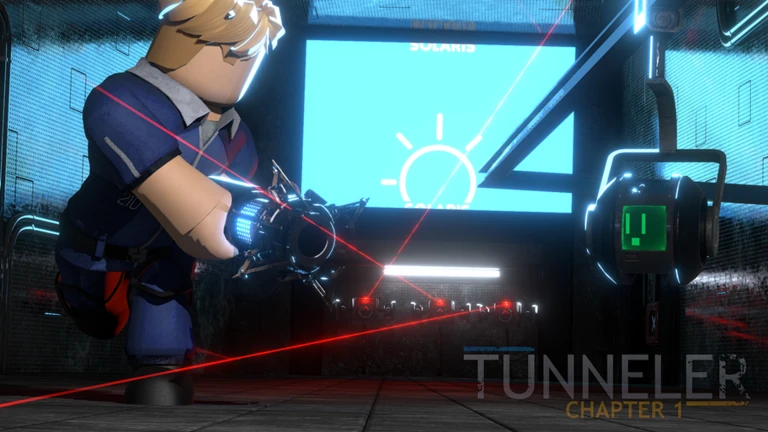
OverviewTUNNELER is a first-person puzzle game built around a portal gun that lets you link two points in space. Made by Homemade_Meal, it follows a character named Miles through a series of test chambers inside Ecliptic Industries, guided by an AI companion called Axle. This guide walks you through the basics, the early levels, key mechanics, and every badge worth chasing.
What is on this page
Contents
Before you start
Check
The developer recommends setting your Roblox graphics level to 8 or higher before launching. The game supports VR, but the official page warns it can cause motion sickness, so take breaks if you play that way.
- Set Roblox graphics to level 8 or above.
- Playing in VR? Step away regularly the game's own page flags motion sickness risk.
- On Oculus Quest, expect possible issues since it is not fully supported.
MetaNew Player Survey

The next survey is being prepared.
How the tunneling device works
SummaryThe Ecliptic Industries Short-Distance Tunneling Device shoots two portals that form an instant passage between two surfaces. Understanding its limits is just as important as knowing how to fire it — Axle spells them out in Level 1.
- Portals shoot two to create a passage you can walk, carry objects, or redirect energy balls through.
- Metal surfaces portals cannot be placed on them; the material repels tunnel technology.
- Water contact the device is not waterproof, so keep it away from water.
- Barrel rule never look into or place a limb inside the barrel of the gun.
- Emancipation grills passing through one destroys any portals you have open and will not let you shoot portals through it.
Level-by-level walkthrough, Levels 0–4
Step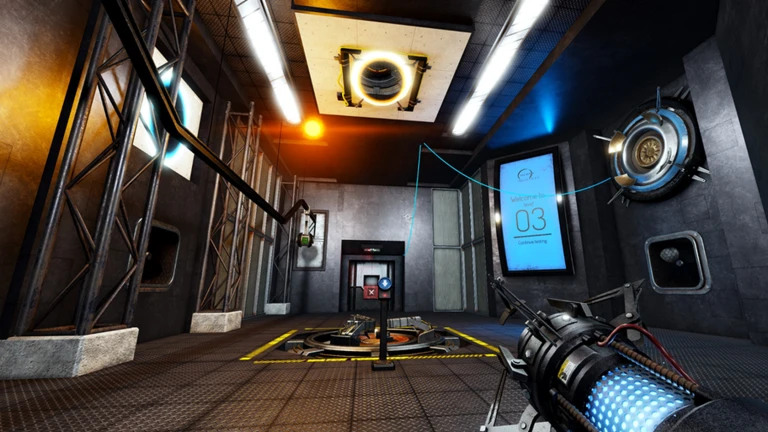
Chapter 1 runs from Level 0 through Level 9. The first five levels below cover the core mechanics you will rely on for the rest of the game. Level 4 is where you trade in your starter device for the upgraded dual-portal version.
- Level 0 Press the button near the exit to activate the orange portal, place the box on the floor button by the fences to open the exit door, then step through the blue portal to finish.
- Rest area after Level 0 Stand on the bed for a few seconds and Axle will peek around the corner, earning you the Slumber badge. Also, if you picked up the radio near the bed at the very start, carry it here to trigger the Future Reference badge.
- Level 1, Test 1 Walk through the blue force field, hit the button to disable it, rush the cube to the other side before it reactivates, then set the cube on the pressure plate.
- Level 1, Test 2 Go through the blue portal, grab the cube, bring it back to the pressure plate, return through the portal, and exit.
- Level 1, Test 3 Hit the button, go through the blue portal before a new one appears, pass through the yellow portal, then grab the tunneling device from the new blue portal. Return to the exit room, stand on the pressure plate, shoot a portal through the door, and go through the yellow portal to reach Level 2. Wait for Axle to finish all eleven rules here to unlock Good Listener.
- Level 4, Test 4.1 Shoot a portal high on a side wall so the automated gun sends an orange portal to the angled platform, walk through, shoot a blue portal on the ground, and fall through the orange portal to collect the upgraded dual tunneling device. From this point on you can place both portals yourself.
Mechanics you will run into
TipsChapter 1 introduces several test elements beyond basic portals. Each one shows up without much explanation, so knowing them in advance helps.
- Energy balls travel in straight lines and can be redirected through portals onto receivers to open doors.
- Gel bounces you upward — use it to reach platforms that are too high to reach on foot.
- Pressurized water breaks cracked glass, doors, and turrets.
- Storage cubes can be carried through portals, placed on pressure plates to hold doors open, and repositioned at any time.
- The Cube-Window Bypass bug can send a cube through a thin wall if you look upward while holding it and then release.
Badge guide
Table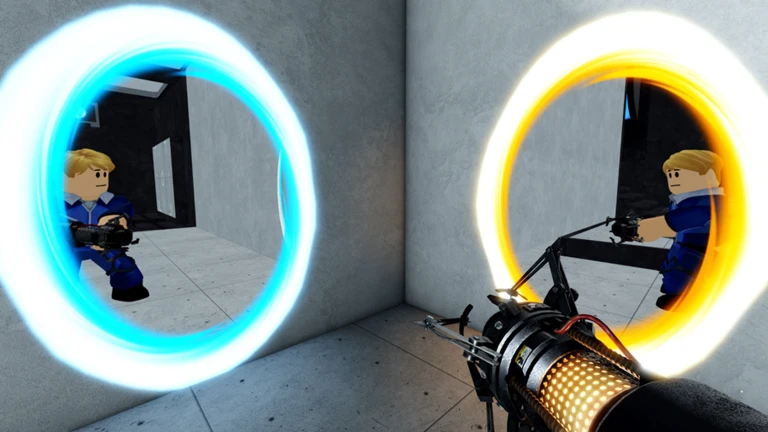
Badges marked EXTRA require leaving the main story path. The rest are earned during a normal Chapter 1 run or by taking a specific action in the right level.
| Badge | How to get it | Level |
|---|---|---|
| Good Listener | Let Axle finish reading all eleven rules without moving to the next level | Level 1 |
| Future Reference | Pick up the radio near Miles's bed at the very start, carry it through Level 0, and enter the rest area | Level 0 transition |
| Slumber | After Level 0, go to the rest area and stand on the bed until Axle peeks around the corner | Level 0 rest area |
| Tunneler | Pick up the upgraded dual tunneling device in Level 4's second room | Level 4 |
| Interesting Solution (EXTRA) | Get the cube to the other side of the Level 4 puzzle without using the intended solution | Level 4 |
| Fiery Love Letter | Let an energy ball hit and kill you | Level 3 |
| Locked | Hit the interact key on the bathroom door 30 times | Level 0 transition |
| Terminal Velocity | Place portals on the ceiling and floor of the same room and fall repeatedly until top speed is reached | Level 2 or 4 |
| Gunned Down | Get killed by a turret | Any level with turrets |
| Breached | Shoot a portal onto the ceiling surface above the security camera near the first turret, dropping the camera | Level 8 |
| Bad Friend | Fire a portal directly at Axle | Any level except Level 0 |
| Programmed | Find the secret radio signal | Level 2 |
| Screen / Spectator | Locate the secret area | Level 5 |
| Conclusion | Find the secret radio signal | Level 5 |
| Large-Distance Test | Find the secret radio signal | Level 8 |
| Power Maintenance | Complete the first 9 levels of Chapter 1 | Level 9 |
| Cake (EXTRA) | Complete the BETA version of Tunneler, Levels 1–8 | Beta |
| Remnant (EXTRA) | Enter the backrooms level from Extras and survive for 2 minutes by moving through portals | Backrooms |
| Grasp (EXTRA) | In the backrooms level, find the glowing white door and walk through it | Backrooms |
| City Living (EXTRA) | Find the radio on the crane in Big City and locate the signal at the building shown in the video | Sandbox: Big City |
Things that will get you killed
WarnThe game does not hold back on instant-kill elements, and some of them can catch you off guard on a first run.
Community strategy ideas
CommunityThese ideas and tips come from people playing the game. Share your discoveries too!
No strategy ideas yet. Share a tip you discovered.
Share a strategy idea
TUNNELER
Glossary
Glossary- Portal (Tunnel)
- A linked pair of openings shot by the tunneling device that lets you or objects pass instantly between two surfaces.
- Axle
- The spherical AI companion who travels on a ceiling rail and guides Miles through every test chamber.
- Pressure plate
- A floor switch that opens a door or activates a mechanism when a cube or other object is placed on it.
- Emancipation grill
- A field across doorways that destroys any object or portal that passes through it.
- Energy ball
- A high-energy projectile launched from a sender that must reach a receiver to unlock certain doors; it can be redirected through portals.
- Ecliptic Industries
- The organisation running the test facility where the game takes place.
- EXTRA Achievement
- A badge that requires stepping outside the main story path, such as playing the backrooms level from the Extras menu.
Common questions
FAQWhy can't I shoot a portal on that wall?
Metal surfaces block tunnel technology, so portals simply will not stick to them. Axle explains this in Level 1 as one of his eleven safety rules.
How do I get the Good Listener badge?
After you pick up the tunneling device in Level 1 Test 3, Axle reads eleven rules one by one. Stay in the room and let him finish every single rule without advancing to the next level. The badge unlocks once he reaches the end.
What is the Developer Console badge and how do I unlock it?
It unlocks after you have earned every main story badge and then open the developer console using the key you have bound to it in settings — the default key is the backquote (`). Check the Credits screen in-game if the badge does not appear even after getting all other main badges.
How do I access the backrooms levels for the EXTRA badges?
From the main menu, go into the Extras section and select the backrooms level. Once inside, the Remnant badge requires surviving two minutes while the monster chases you, and the Grasp badge requires finding and walking through a glowing white door.
Game updates can change what is on this page. If you spot something, get in touch and let us know.