Enfosi — How a run works
About
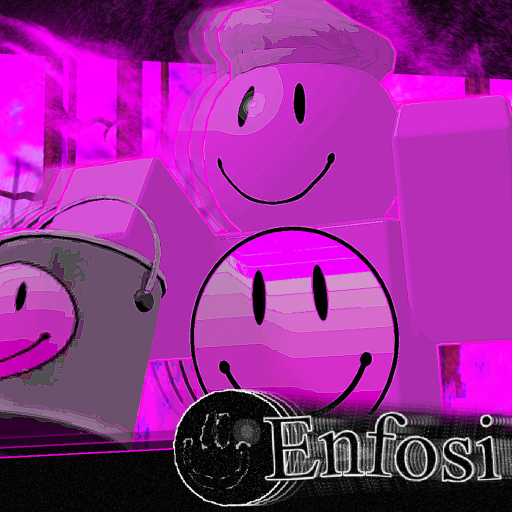
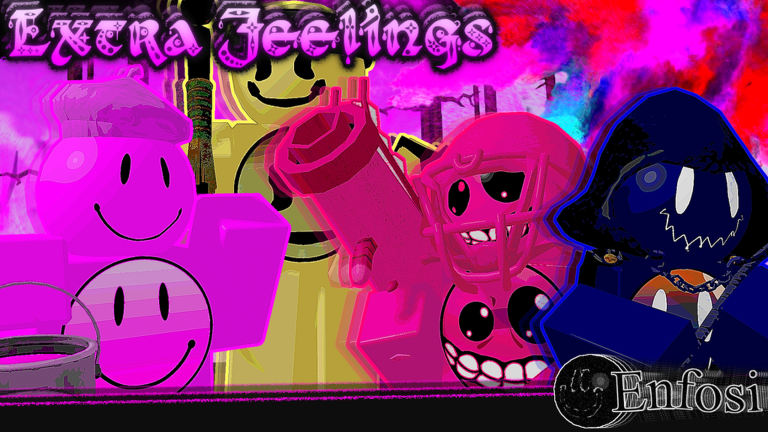
OverviewEnfosi is a seven-wave defense game where you and your team protect a statue from Enphosians — mutated Glaggles that sneak in disguised as innocents. You pick a Glaggle class, earn Bintar currency by clearing waves, and push through increasingly tough enemies until you face a final judgment. This guide covers classes, the wave structure, all three bosses, the Strike system, and how to spend your Bintar wisely.
What is on this page
Contents
How a run works
Step
Waves arrive in order and each one introduces a new type of Enphosian. After waves 2, 4, and 6 you fight a boss before the next wave begins. Clearing wave 7 ends the run and shows your final ranking. If you earned a rank of Glaggle, Awesome, or Enphosed, Enphoso challenges you directly.
- Spot the disguise Enphosians look like innocent Glaggles until provoked or revealed; hitting an innocent costs you a Strike.
- Guard the statue if its health reaches zero the run ends in a loss.
- Handle the boss defeat the boss before moving on to the next wave.
- Check your Strike count three Strikes summons the Eye of Enphoso and turns you into a Sobber.
- Read the final rank your per-wave ranks combine into one result that Enphoso comments on.
Classes and Bintar
TableBintar is earned by completing waves, though wave 1 pays nothing, so real earning starts from wave 2 onward. Giggler and Sobber are available from the start; every other class must be unlocked with Bintar. Each class has distinct perks and drawbacks that change how weapons perform.
| Giggler | free starting class, balanced with no special bonuses or penalties. |
| Gazo | 25% ranged damage bonus, but that bonus applies to explosion damage too, and the penalty does as well. |
| Gembo | double damage on Gembo-based explosions, but missing your own melee swings deals 25 damage to yourself. |
| Gleeber | fastest class but takes 25% more damage from all sources. |
| Glaaber | highest durability, massive club damage, but very slow without the Juice Blaster active. |
| Sobber | forced penalty class after three Strikes; health drops to 100, roughly one third of normal. |
Wave-by-wave enemy breakdown
Table
Each wave's Enphosian is listed with its rough health tier and what it does once revealed. Boss stages sit between the even-numbered waves.
| Wave | Enemy | Health tier | Revealed attack | Main threat |
|---|---|---|---|---|
| 1 | Giggler | 100 HP | Giggle Bat melee swing | Can be one-shot by Giggle Bat |
| 2 | Gazo | 1.5× Giggler | Continuous Gazo Pistol fire | Slowly closes on statue if ignored |
| 2.5 (boss) | Gergro | 2500 HP (scales) | Bat, Paintball Volley, Explosive Can | Explosive Can deals up to 250 damage |
| 3 | Gloober | 2× Gazo | Sign swings and healing shockwave | Healing shockwave is hard to interrupt |
| 4 | Gembo | Below Gloober | Gembo Ball explosive throws | Keeps distance and lobs explosions |
| 4.5 (boss) | Borgack | Scales | Rocket Launcher, Dynamite, Machete | Self-destruct at 1/6 HP on Smile and Maniac |
| 5 | Cheerer | Same as Gembo | Runs to statue and drops Present bomb | Ignores players, targets statue directly |
| 6 | Gleeber | 2× Cheerer | Gleeboard charges and rapid swings | Gets faster when revealed |
| 6.5 (boss) | Risio | 3000 HP (scales) | Random weapon from full player arsenal | Phase 3 inverts map colors |
| 7 | Glaaber | Largest health pool | Club swings and ground pound | Can be distracted with Giggle Guitar summons |
The Strike system and the Eye of Enphoso
WarnStrikes are tracked on the bottom-left of the screen and on the leaderboard. You gain one for dying and one for hurting an innocent Glaggle. Hitting an innocent does not immediately turn you into a Sobber the way dying at three Strikes does, but it speeds the Eye up. Once the Eye catches you, a small explosion knocks you into the Sobber class with only 100 HP. When the wave ends you return to your normal class, but your weapons are gone and need to be re-equipped from the shop.
Boss guide — Gergro
Step
Gergro appears at wave 2.5 with 2500 HP that scales with player count. He always opens with Paintball Volley, then alternates with Explosive Can. He backflips away when players get too close. At half health he turns black, moves faster, and gains the ability to summon five Gergs.
- Keep your distance his Bat swings connect fast and repeatedly at close range.
- Listen for 'Batter up!' that voice line signals the Explosive Can; immediately run the opposite direction of where you were heading since Gergro aims where he thinks you will be.
- Use ranged weapons or Gleeboard charges both deal consistent damage while keeping you away from his Bat.
- On Maniac difficulty the Paintball Volley fires in a burst pattern similar to a shotgun, so keeping appropriate distance is important.
- On Maniac, the Explosive Can fires an energy ball that can be shot down with any ranged weapon.
Boss guide — Risio
StepRisio has 3000 HP scaling with player count. He moves quickly and erratically and cycles through weapons ranging from the Giggle Pistol to Gleeber tools. At half health he enters phase 2 and begins spawning a clone with 300 HP. At one-sixth health phase 3 starts: the map's colors invert, visibility drops sharply, and he spawns shadows equal to the player count. On Mild mode phase 3 is removed entirely. On Maniac mode a fourth phase exists.
- As Glaaber, alternate between Glaaber Club melee and Gembo Ball throws, retreating to use Gloober Sign for healing whenever your health drops near 100.
- As Gleeber, never melee Risio use ranged weapons and the Gleeboard to escape when he closes in.
- Ignore the phase-2 clone killing it only wastes time; the clone disappears on its own and Risio spawns a new one shortly after anyway.
- In phase 3 the color inversion makes tracking Risio harder, and his movement speed increases further the lower his health falls.
- Surprise Tripmines and Cheer Presents detect Risio even when he is moving, so they are effective tools against him.
Maps and reward multipliers
SummaryNine maps are currently in the game. Each one has a difficulty rating and a Bintar reward multiplier — harder maps multiply the Bintar you earn at the end. Two maps, Alcázar of Glagovia and Arcazo's Arcade, both carry a Hard rating and a 1.15× multiplier. Maps also vary in how many heal pads and ammo refill stations they include.
- Alcázar of Glagovia Hard / 1.15× multiplier, five heal pads, two ammo stations, seven enemy spawns converging on three chokepoints.
- Arcazo's Arcade Hard / 1.15× multiplier, three heal pads, two ammo stations, watch for the staircase flank from the third bus spawn behind the statue.
- Heal pads recharge every 60 seconds.
- Ammo stations locate them at the start of each new map so you always know where to reload.
Glossary
Glossary- Enphosian
- A Glaggle mutated by Enphosian Goo that disguises itself as an innocent and attacks the statue.
- Glaggle
- The general name for the playable character classes, including Giggler, Gazo, Gloober, Gembo, Cheerer, Gleeber, and Glaaber.
- Statue
- The object in each map that you must protect; the run ends in a loss if it reaches zero health.
- Bintar
- The in-game currency earned by completing waves, used to unlock classes and buy weapons from the shop.
- Strike
- A penalty added when you die or hurt an innocent Glaggle; three Strikes summons the Eye of Enphoso.
- Sobber
- The forced class you become after the Eye of Enphoso catches you, with only 100 HP and weakened starting weapons.
- Eye of Enphoso
- A small form of Enphoso that chases you when you reach three Strikes, moving faster the longer you run, with no way to escape.
- Heal pad
- A recovery zone placed on each map that restores health on contact and recharges after 60 seconds.
- Parry
- Gemblade's special action that negates incoming damage and releases a large explosion if timed correctly within a short window.
- Innocent
- A non-Enphosian Glaggle wandering the map; hitting one adds a Strike to your count.
Common questions
FAQWhy did I earn no Bintar after wave 1?
Wave 1 completions do not award Bintar or XP. Currency starts dropping from wave 2 onward.
What should I do if I become a Sobber?
With only 100 HP and weakened weapons you will not contribute much in direct combat. Move near dangerous Enphosians like Glaabers to pull their attention away from your teammates and the statue. When the wave ends you return to your normal class, but you need to go back to the shop and re-equip your weapons manually.
Should I kill Risio's clone in phase 2?
No. Killing the clone does not weaken Risio and it only delays you from dealing damage to the actual boss. The clone disappears on its own after a set time, and Risio spawns a new one shortly after. Stay focused on Risio, but keep an eye on where the clone is so it does not sneak up on you.
How do I dodge Gergro's Explosive Can?
Gergro shouts 'Batter up!' right before firing the can. His AI predicts where you are heading, so the moment you hear the voice line, reverse your direction. Running the opposite way of your prior movement causes the can to miss.
What are the three difficulty settings?
The game has Mild, Smile, and Maniac difficulties. Mild removes Gergro's phase-2 minion call and Borgack's self-destruct, and strips Risio's third phase entirely. Maniac adds enhanced attack patterns and gives Risio a fourth phase.
Game updates can change what is on this page. If you spot something, get in touch and let us know.