Games listed 43,069
Game guide

Survive the Apocalypse Guide: First things to do when you start

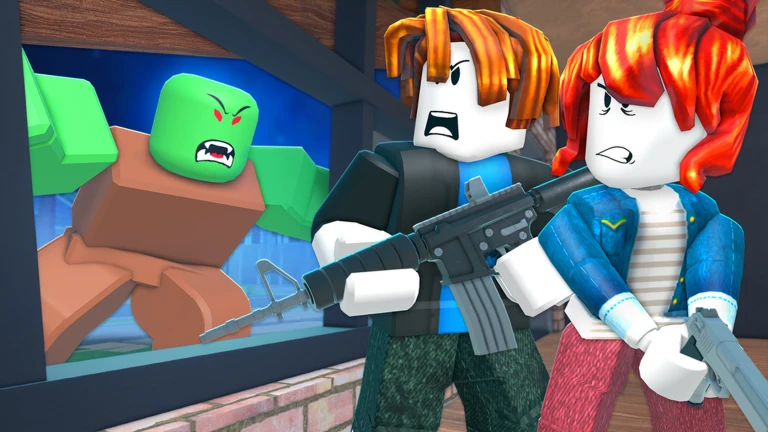
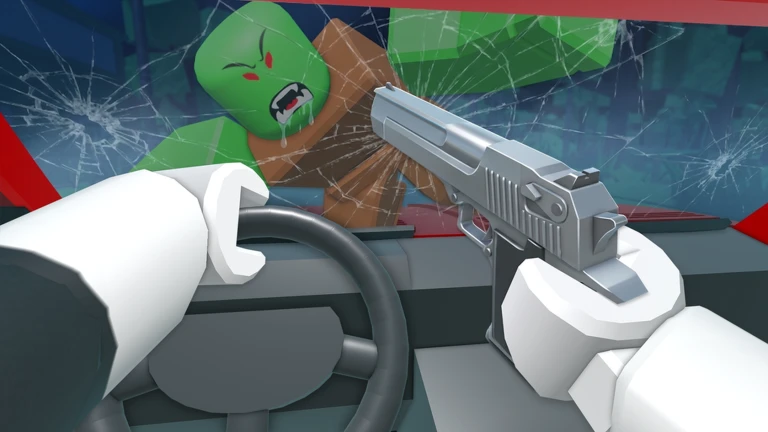
[👾EVENT] 🧟 Survive the Apocalypse
Rubicon South, Playing 9.4K, Rating 94.1%
Creator Rubicon South
Playing 9.4K
Rating 94.1%
Is this game fun?2 votes
Fun 100%2Average 0%0Not fun 0%0

About

Overview

Survive the Apocalypse drops you into a ruined city where your only goal is to reach Day 100 alive. You do that by looting buildings for supplies, building up your defences, and holding off escalating zombie waves every night. This guide walks you through what to focus on each phase of the run, how to build a base that actually holds, and how to handle the enemies that will otherwise end your run early.

What is on this page

Contents
01

First things to do when you start

Check
In short Your first session should end with fuel collected, a basic perimeter up, and a clear idea of which buildings are around you.

Before you do anything else, get your bearings in the Starter Zone. The temptation is to pick fights with zombies right away, but every minute spent in combat on Day 1 is a minute not spent collecting fuel — and fuel is what unlocks everything.

  • Check every Corner Shop, Diner, and Parking Lot in the Starter Zone before moving further out
  • Collect Red Jerry Cans near vehicles and use Gas Station pumps whenever you pass one
  • Put up a basic Metal Fence perimeter around the base it doesn't need to be elaborate yet
Ask on the board
02

Early game priorities — Days 0 to 20

Step
In short Getting the Generator to Level 2 as fast as possible is the single most important goal in the first twenty days.

The whole early game is built around fuel. The Generator is what unlocks new zones, and you need Level 2 before Night 10 so the City District and Gun Shop open up — ranged weapons are not optional once the waves start getting serious. Basic fences and the Automatic Turret will hold during this phase, so don't pour resources into elaborate defences yet.

  1. Collect fuel spend all daytime hours finding Red Jerry Cans and using Gas Station pumps
  2. Upgrade the Generator push it to Level 2 before Night 10 to unlock the City District
  3. Visit the Gun Shop head there before any other building once the City District opens
  4. Build a fence one layer of Metal Fences around the base perimeter is enough for now
  5. Avoid the Quarantine Zone you are not equipped for it yet, and it will cost you the run
03 Live and upcoming events Events

Events running now or coming soon. They have fixed dates, so check them first.

Live now –

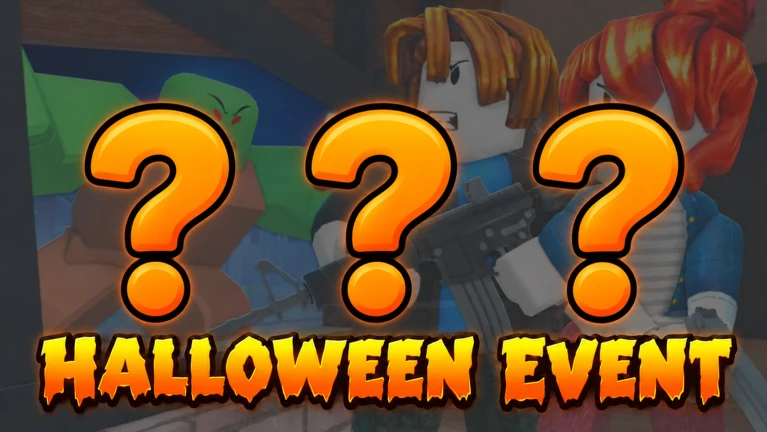
HALLOWEEN EVENT

You don't want to miss it

See the whole schedule
04

Combat rules that apply every day

Tips
In short Headshots, careful grenade use, and never ignoring a Bloater or Screamer will keep you alive far longer than raw firepower.

Good aim matters more than having the best weapon. Most players waste ammo shooting at bodies when headshots deal significantly more damage on every zombie type. A few habits — drilled in early — make the difference between running out of bullets at Day 60 and having a grenade reserve deep into the late game.
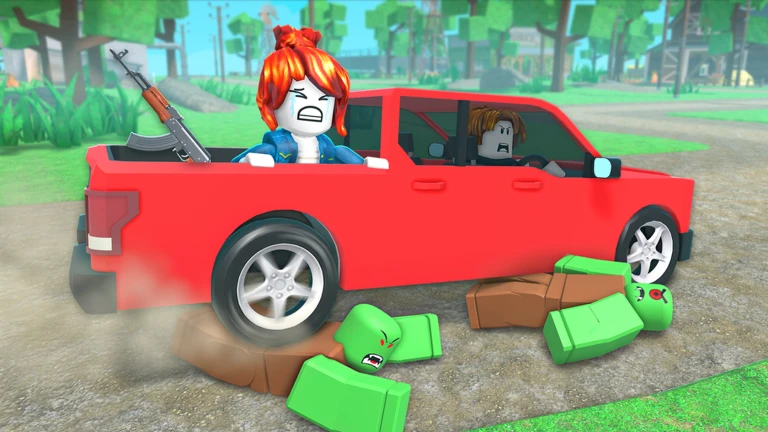
Tips worth knowing
  • Aim for the head on every zombie type — headshots deal significantly more damage
  • Use the Ray Gun only against tight clusters of zombies, not spread-out targets in the open
  • Throw grenades only at stationary targets — zombies battering a fence or lured under an elevated position
  • Climb tall buildings and drop grenades into crowds drawn together by the Floodlight
  • Kill the Boss first on every high-intensity wave before dealing with the surrounding horde
  • Never go near a Screamer without a guaranteed one-shot kill — if it survives, it alerts every zombie in the area
05

Bloater warning

Warn
In short One Bloater explosion near your fence can destroy several layers at once — treat them as the highest priority target every time.

Bloater Zombies start appearing from Day 20 onward. They explode on death, which means melee is never an option and letting them reach your fence line is a disaster. A single explosion can collapse multiple fence layers simultaneously, which can unravel a perimeter you spent days building.

Worth watching out for
Never engage a Bloater in melee switch to the Sniper Rifle or AK-47 the moment you see one
Kill it from maximum range before it reaches the base or any group of other zombies
Do not ignore a Bloater to deal with other threats it is always the first target
06

Base layout and fence depth

Table
In short A small, square base with five fence layers and well-placed Barbed Wire and Bear Traps is more durable than a large, elaborate one.

Zombie waves arrive from all four cardinal directions every night, so an asymmetrical base always has a weak side that breaks first. Keeping the footprint small means the Automatic Turret at the centre covers every approach without gaps, and repairs take less time and Metal. Build toward five fence layers from the mid-game onward — each layer you skip is one fewer night the base survives.

Shapesmall and square beats large and irregular
Fence layersminimum five concentric Metal Fence rings around the full perimeter
Barbed Wire placementat least three layers inside the fence perimeter, not outside it
Bear Trap placementclose to the base near the innermost fence layers, not in the outer approaches
Repair Drone positioncentrally placed so its repair radius covers all structures
Survivors at nighteveryone inside the perimeter before nightfall, no exceptions
07 Working codes Codes
Spookyseason 25 emeralds
25 emeralds
escape10
water
bloodharvest 25 Emeralds
25 Emeralds
Every code, and the votes on it, are on the codes page
08

Mid-game objectives — Days 20 to 40

Step
In short The Radio Tower and Power Plant repairs should be done during the mid-game, not saved for Day 100 when the pressure is brutal.

Once Bloaters appear, the run shifts into mid-game and objectives become as important as survival. Two repairs define this phase: the Radio Tower and the Power Plant. Doing both early removes enormous last-minute pressure — neither requires waiting until Day 100, and completing them late while facing heavy waves is far harder than finishing them now.
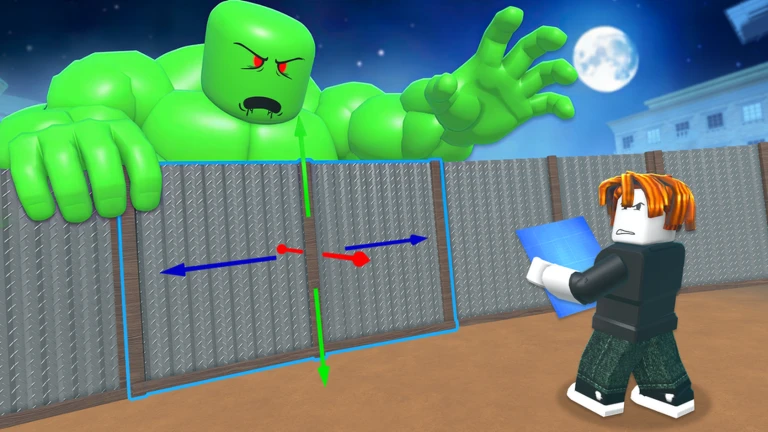
  1. Build up the fence push toward five layers before Day 40; even three or four is a major upgrade over one
  2. Prepare for the Broadcast Tower Zone bring at least three Gas Masks and the Radio Tower Part from the Rebel Hideout
  3. Repair the Radio Tower complete this objective while the waves are still manageable
  4. Visit the Nuclear Reactor collect Nuclear Fuel and Legendary weapons from the Power Plant Zone
  5. Repair the Power Plant finishing this early clears the Day 100 Escape objective chain without a scramble
09

Late-game survival — Day 60 onward

Tips
In short Metal farming and a large grenade reserve are what keep a late-game base standing when waves destroy fence layers faster than earlier phases.

By the time the run reaches the later days, zombie waves tear through fence layers at a pace that makes constant repair essential. Daytime is no longer for exploration — it is for Metal collection and crafting. Screamers appear frequently in late waves, so leaving the base after dark is no longer an option.

Tips worth knowing
  • Spend every daytime run collecting as much Metal as possible — late waves destroy layers fast
  • Craft grenades in bulk at the Ammunition Bench so you always have a large reserve for crowd control
  • Use the Sniper Rifle for headshots on the Boss from distance, or the Drum Shotgun if it closes in
  • Never leave the base at night — Screamers appear frequently in late waves
  • Keep all fence layers repaired continuously — a single broken layer compromises everything inside it

Community strategy ideas

Community

These ideas and tips come from people playing the game. Share your discoveries too!

No strategy ideas yet. Share a tip you discovered.

Glossary

Glossary
Generator
The base structure you upgrade with fuel to unlock new zones and progress the run.
Bloater
A zombie type that explodes on death — must be killed from range before it reaches the base or a group of other zombies.
Screamer
A zombie that, if not killed in a single shot, alerts every zombie in the surrounding area.
Ghost Zombie
A zombie type that becomes common from Night 10 onward and appears frequently in later consolidation-phase waves.
Muscle Zombie
A zombie capable of destroying walls.
Emeralds
The main in-game currency, used for weapons and permanent character upgrades.
Radio Tower Part
An item collected from the Rebel Hideout and used to repair the Radio Tower in the Broadcast Tower Zone.

Common questions

FAQ

What should I build first?

Start with a basic Metal Fence perimeter around a small, square base and place the Automatic Turret inside it. Do not spread your base out wide — a compact layout means the turret covers every direction without gaps. Elaborate layering can wait until Day 20; in the first phase, fuel and Generator upgrades come before extra fence work.

When should I tackle the Radio Tower and Power Plant?

Do both during the mid-game, roughly between Day 20 and Day 40. For the Radio Tower, bring at least three Gas Masks and the Radio Tower Part from the Rebel Hideout. Leaving either repair until Day 100 means doing it under the heaviest waves, which is far more stressful than handling it while the run is still manageable.

How do I handle a wave that keeps breaking through my fence?

Check whether you have at least five concentric fence layers and whether Barbed Wire is placed inside the perimeter rather than outside. A layer that breaks and is not repaired immediately compromises every layer behind it, so keep Metal stocked and repair continuously during waves. Also confirm that no one is outside the base drawing zombies away from the kill zone.

Updated Sep 6, 2026
Game updates can change what is on this page. If you spot something, get in touch and let us know.
[👾EVENT] 🧟 Survive the Apocalypse Rubicon South, Playing 9.4K, Rating 94.1%
See the game pageSee working codesAsk on the board
Add it to your home screen and it works like an app. One tap to open, and it loads faster after that.