
Refuse 2 Die Guide: Starting loadout
About
OverviewRefuse 2 Die is a zombie survival game — a faithful fan remake of Reason 2 Die: Awakening with extra original content added on top. You and up to 99 other players fight through hordes, tackle multi-stage quests, and take down bosses. This guide covers how to set up your loadout, survive on the map, tackle the Quest mode, and make the most of the Summer 2026 event.

What is on this page
Contents
みんなの攻略ノートとコツ
見つけたコツや、とっておきの攻略をみんなに教えよう!画像付きのノートも大歓迎!
Write a player note
Refuse 2 Die [🦀🌴SUMMER]
Starting loadout
Step
When you first join you automatically receive the Welcome! badge — that just means the game registered you correctly. From there, put together your loadout before dropping in. You can carry two weapons and up to three items, so every slot matters.
- Join the community group joining the official Refuse 2 Die Community group gives you a permanent +10 HP in-game, and it costs nothing.
- Pick your weapons you can take one primary and one secondary, or two secondaries. You cannot take two primaries.
- Fill your item slots you have three slots. Think about what role each item plays: healing, ammo support, or utility.
MetaNew Player Survey

The next survey is being prepared.
Item choices and how to use them
Tips
Items cover healing, ammunition, and wild-card effects. Each one fits a specific situation, and since you only get three, swapping the wrong one in can leave you short when it counts.
- Cake heals 30 HP and is fast to use — save it for moments when your health is low, and use the Give command to pass it to teammates who need it more urgently.
- For larger bursts of healing, Vitamins or a Medkit will outperform the Cake.
- The Dice is a throwable with random outcomes: a result of 7 or higher heals you and nearby teammates in an area, but it can also trigger an explosion or freeze effect, so treat it as a backup healer rather than your primary one.
- After you throw the Dice, kick it to flip it and nudge the result toward something more useful.
- Throwing the Dice into a chokepoint is worthwhile because the explosion and freeze effects can still slow or damage enemies even when the healing roll does not come up.
- Wearing a Flakvest cancels out the explosion damage the Dice can deal to you.
- The Ammo Box works like a portable ammo station — place it when no station is nearby, but remember other survivors can drain it before you get a chance to use it yourself.
Quest mode
Check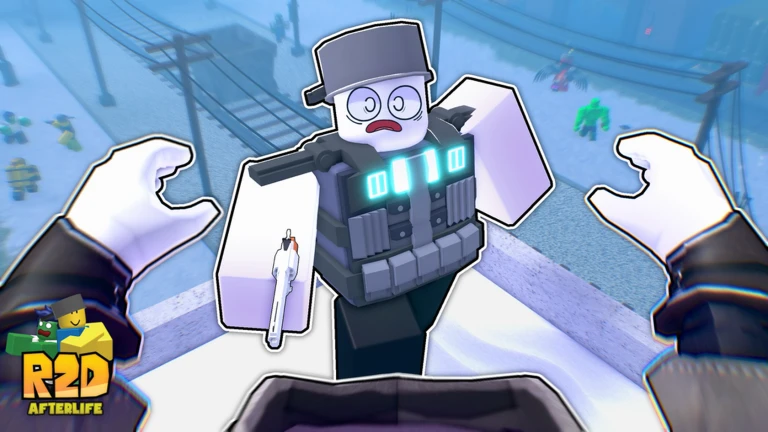
In Quest mode you work through a series of stages in order. Finishing all of them triggers the boss encounter.
- Do not rely on the give Boosterpad command it does not work in Quest mode, even though other give commands do.
- Skip the Clockbomb if you are running Chronos Quest specifically, because it cannot be used during that quest.
Wipeout IV walkthrough
StepWipeout IV is the Summer 2026 quest map and the first summer-themed quest in the game. It is an obstacle course built around water as the primary hazard. There are four sections, each with a distinct challenge, and the run ends with a mini-boss fight.
- Section one cross the slippery platforms carefully.
- Section two dodge the cannons on the linear path, then navigate the swinging hammers. Once you reach the island at the end, use a jetski to cross the water.
- Section three press every red button on the islands to unlock the path forward, then jump across the spinner pillars while avoiding the punching gloves.
- Section four once anyone reaches the final island, all living survivors are teleported there together. Focus fire on Captain Crab to break the planks blocking the boat and finish the quest.
- Full-server shortcut if the server is full, you can wait for other players to reach Section four and get teleported to the boss arena without completing the earlier sections yourself.
- No Lives Lost badge clear the entire Summer 2026 quest without dying once to unlock this badge.
Leaper zombie tips
Table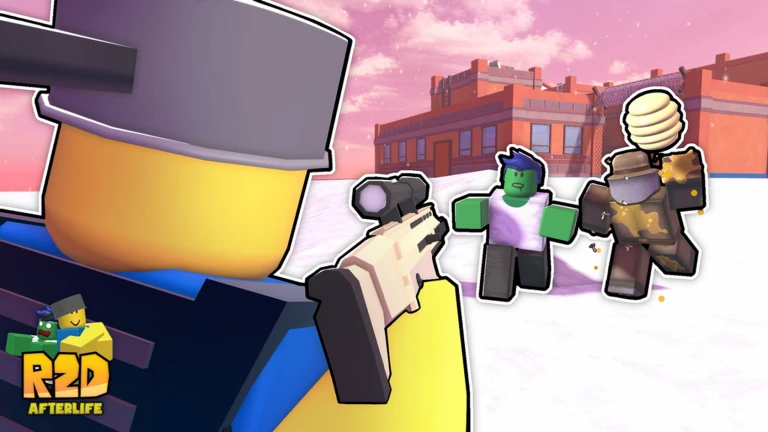
The Leaper is a fast, low-health zombie that pins survivors to deal rapid damage. It cannot break doors, windows, or buildings.
| As survivor | stay with the group, because a Leaper struggles to pin someone who has teammates nearby ready to intervene. |
| Pinned teammate | hit or kill the Leaper to free them; a melee strike is enough. |
| Solo and out of ammo | retreat to high ground, dodge unpredictably, or time punches to stun it while running. |
| As Leaper | use first-person view, since it makes lining up a pounce significantly easier. |
| Ambush timing | pounce from behind corners or charge while survivors are distracted by a brute or a horde. |
| C4 mutation | you must kill 30 survivors as the Leaper to unlock this upgrade; once you have it, dying inside a group of survivors deals area damage, but your claw damage is halved for the whole run. |
Summer 2026 event overview
Summary
The Summer 2026 event is the first summer event the game has run. It adds limited bosses, weapons, items, and maps that will only be available through the Prestige Shop after the event closes.
- Exclusive bosses Kraken, Captain Crab
- Exclusive quest map Wipeout IV
- Event badges Kraken Slayer (defeat the Kraken), No Lives Lost (clear the quest without dying)
Active badges worth chasing
TableBadges marked Discontinued can no longer be earned. Every badge listed below is currently obtainable. Bragging Rights means no item reward is attached.
| Badge | How to earn it | Reward |
|---|---|---|
| Welcome! | Join the game for the first time | None |
| Defeated Chronos XI | Complete Chronos Quest and kill Chronos XI | Bragging Rights |
| Gotcha! | Get killed by ExterminatorRBX while playing as a survivor | Bragging Rights |
| King Cherrycake Defeated! | Defeat King Cherrycake | Bragging Rights |
| Kraken Slayer | Defeat the Kraken during Summer 2026 | Bragging Rights |
| No Lives Lost | Clear the Summer 2026 quest without losing a life | Bragging Rights |
| Frostveil Titan Slain! | Defeat the Christmas 2025 boss | Bragging Rights |
| Jacksplot Defeated! | Defeat Jacksplot | Bragging Rights |
Glossary
Glossary- Primary weapon
- The heavier of the two weapon slots — you can carry one primary alongside one secondary, or skip it entirely and take two secondaries.
- Quest mode
- A game mode where players clear a sequence of stages before facing a boss at the end.
- Give command
- An in-game command that passes an item to a teammate; the Boosterpad version of this command does not work in Quest mode.
- Clockbomb
- An item that cannot be used during Chronos Quest specifically.
- Prestige Shop
- A shop where event-limited items can still be purchased after their event has ended.
- AOE
- Area of Effect — an effect that hits multiple targets within a radius rather than just one.
- C4 Mutation
- A Leaper upgrade that triggers an explosion on death, unlocked by killing 30 survivors as the Leaper.
- Pin
- The Leaper's core attack — it leaps onto a survivor and holds them in place while dealing rapid damage.
Common questions
FAQHow many weapons and items can I carry?
You can carry two weapons — either one primary and one secondary, or two secondaries — and up to three items. Weapons and items are separate slots, so a full loadout is two weapons plus three items.
What does joining the community group actually do?
Joining the official Refuse 2 Die Community group gives your character a permanent +10 HP boost in-game.
Can I still get event-limited items after the event ends?
Yes, but only through the Prestige Shop.
Why is my Boosterpad give command not working in Quest mode?
The give Boosterpad command is specifically disabled in Quest mode. Other give commands still work, and the Boosterpad itself functions normally outside of Quest.
Game updates can change what is on this page. If you spot something, get in touch and let us know.