Marble Race Creator Guide: Getting started in the editor
About
OverviewMarble Race Creator lets you build your own marble courses on a 2D canvas, then share them for anyone to race through. This guide covers how to get started in the editor, how to spend your coins wisely, and how to find good courses made by other players.

What is on this page
Contents
Player notes and tips
Found a useful trick? Share it with everyone! Notes with screenshots are welcome!
Write a guide note
Marble Race Creator
Getting started in the editor
Step
When you first load the game, head to the My Courses tab. You start with five free save slots, and a new course opens straight into the editor. Every course shares the same fixed canvas size — 160 by 90 units — and every marble has a diameter of 2 units, so use that as your measuring stick when placing parts.
- Open a course tap the yellow folder icon on the main menu and create a new course from the My Courses tab.
- Enter the editor the Edit button appears only when one of your own courses is selected.
- Test the run tap Spawn to drop your selected marbles at the Spawn Point and watch them roll.
- Check the path to the Podium the Podium is a required part that cannot be deleted; your course is only complete once marbles can reach it.
- Exit safely tap Back to leave the editor and return to the main menu.
MetaNew Player Survey

The next survey is being prepared.
Editor controls worth learning early
Check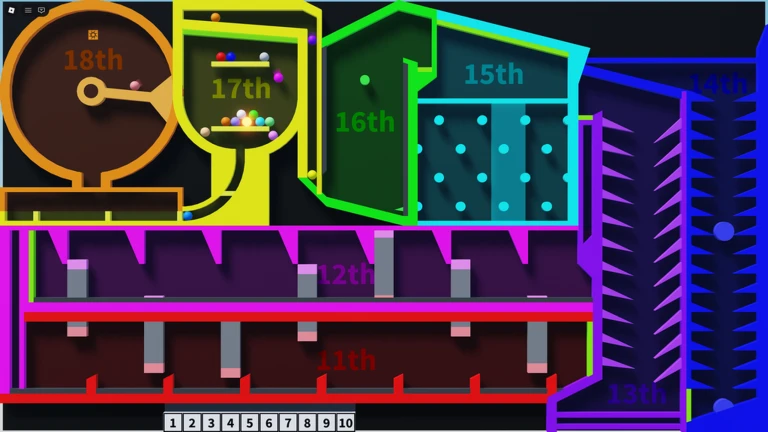
The editor toolbar sits around the canvas and each button has a single job. Mobile players get an Add Sel button for selecting multiple parts at once; on PC you hold Ctrl instead. The Animate button only shows up if you have at least one moving part on the canvas.
- Undo and Redo are always available use them freely so mistakes cost nothing.
- Snap toggles grid snapping on and off; the grid gets finer as you zoom in, but switch it to fixed mode if you want the grid to stay the same at every zoom level.
- View All hides the entire UI and centers the camera on the whole course click anywhere to bring the UI back.
- Clone copies the selected part with all its properties, but only if you have enough Build Capacity left.
- The property panel opens on the side whenever you select a part, letting you type exact numbers for position, size, rotation, and bounciness.
The three layers and what they do
Table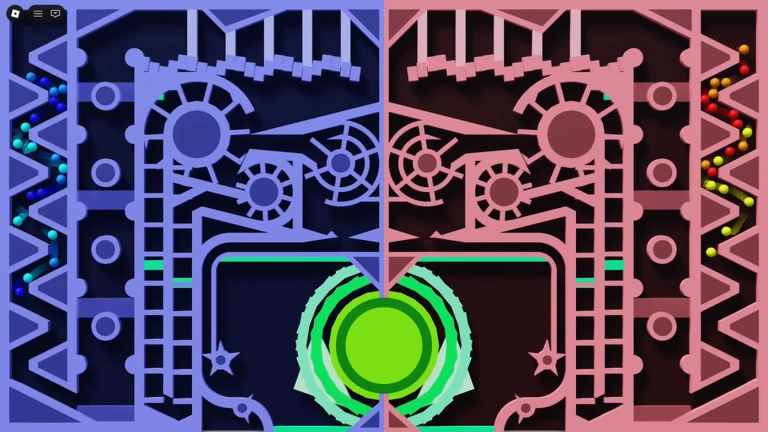
Every part you place sits in one of three layers.
| Standard | parts share the marble's depth and collide with it; all static, moving, and gimmick parts go here. |
| Background (Bg) | parts sit behind the marble and have no collision; use these for decorative shapes. |
| Foreground (Fg) | parts sit in front of the marble and have no collision; use these for overlaid decorations. |
Part properties and advanced parameters
TipsWhen you select a part, a side panel shows its editable properties. Most parts share the basics, but certain moving and gimmick parts unlock extra fields.
- Color sets the part's RGBA value, including transparency.
- Bounciness (0–100%) controls how much of a marble's momentum survives after it hits the part.
- Cycle (sec) sets how long a moving part takes to complete one full loop of its path.
- Phase (%) sets where in that loop the part starts — useful for syncing multiple gears together.
- Swing Center and Swing Range (both in degrees) control the arc of any swing part.
- Text parts accept up to 60 characters and let you set font size (1–100) and a separate text color.
Coins — how to earn them and what to prioritize
Summary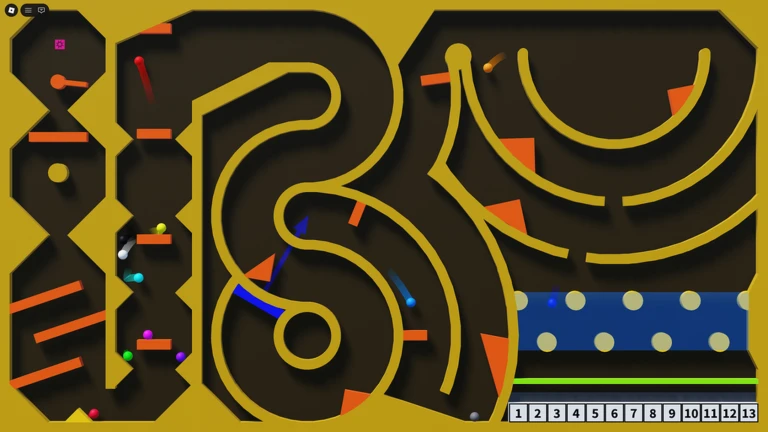
Coins are the only currency used in the Shop. There are three ways to earn them, and the rates are fixed, so planning ahead matters.
- Passive income 20 coins every 5 minutes while you are active in the game, which works out to 240 coins per hour.
- Daily ads up to 5 ads per day, each worth 50 coins, adding 250 coins on top of passive income.
- Robux purchases three coin packs are available in the Shop; the larger packs give a bonus of up to 20% more coins per Robux spent.
- Total cost to unlock everything 51,200 coins if bought outright.
Shop upgrades and what they cost
Table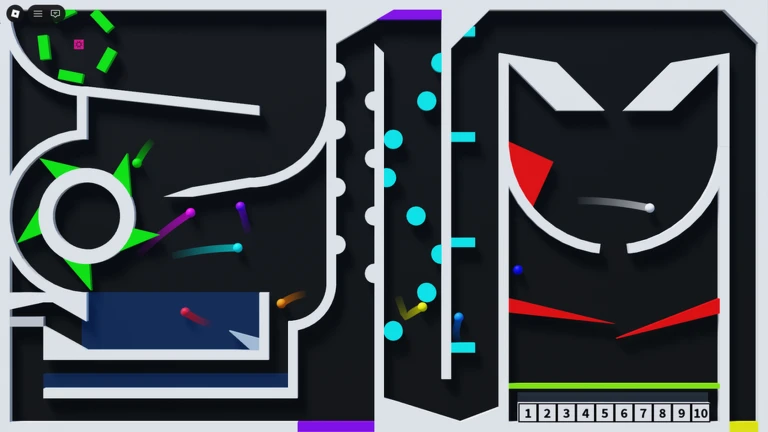
These three upgrades can each be purchased more than once, unlike marbles and parts. Prices and caps are listed below.
| Upgrade | Cost per purchase | Starting value | Hard cap |
|---|---|---|---|
| Marble Cap (+5 marbles) | 400 coins (price rises by 400 each time) | 20 marbles | 40 marbles |
| Build Capacity (+5,000) | 2,000 coins | 20,000 capacity | 40,000 capacity |
| Course Slots (+1 slot) | 1,000 coins | 5 slots | 20 slots |
Browsing and playing other people's courses
TipsThe Courses button — the yellow folder icon on the main menu — holds both your own courses and a global browse section. Up to 1,000 courses appear in the Ranking list.
- New shows the latest uploads; quality varies widely.
- Rising highlights courses that are currently gaining views quickly.
- Ranking sorts courses by total view count.
- Favorites saves any course you have liked so you can return to it later.
- History shows recently visited courses but resets when you leave the game.
- You can also search by course name or creator name directly.
Glossary
Glossary- Build Capacity
- A number that limits how many parts you can place in a course; everyone starts with 20,000 and can expand to 40,000 through the Shop.
- Podium
- The required goal part at the end of every course; it cannot be deleted.
- Spawn Point
- The required starting part where marbles appear at the beginning of a run; it cannot be deleted.
- Bounciness
- A per-part property (0–100%) that sets how much of a marble's speed is kept after the marble hits that part.
- Gimmick
- A special interactive part — such as a Boost Pad, Teleport Pad, or Gravity Changer — that can be attached to static or moving parts once the Gimmick Attach feature is unlocked.
- Phase
- A moving-part property (0–100%) that sets where in its animation cycle the part begins, used mainly to synchronize multiple moving parts.
- Grid Snap
- An editor setting that locks part movement and scaling to a grid; the grid size changes with zoom level unless fixed mode is turned on.
Common questions
FAQCan I delete the Podium or the Spawn Point?
No. Both are required parts and the editor will show an error if you try to remove either one.
How many marbles can I use in one course?
You start able to equip up to 20 marbles. You can buy upgrades in the Shop to raise that limit all the way to 40, with each upgrade adding 5 slots and costing 400 more coins than the last.
Do likes or views give the course creator any reward?
No, there is currently no reward for receiving likes or views. Only the creator can see the view count on their own courses, and visiting your own course does not add to that count.
What is the fastest free way to earn coins?
Staying active in the game earns 20 coins every 5 minutes, and watching up to 5 ads per day adds 50 coins each.
Why did my part disappear when I tried to clone it?
Cloning costs Build Capacity equal to the part's own cost. If your remaining capacity is too low, the clone fails and the editor displays an insufficient capacity error.
Game updates can change what is on this page. If you spot something, get in touch and let us know.