
Blackout: Revival Guide: Choosing your first mode
About
OverviewBlackout: Revival is a Roblox shooter with two very different modes: Final Eclipse, a class-based roguelite where you fight endless waves of enemies, and Killzone, an open-world looter shooter built around factions, raids, and high-risk tasks.
What is on this page
Contents
Choosing your first mode
Table
From the hub, you pick one of two operations before you do anything else. They play very differently, so it is worth understanding what you are signing up for.
| Final Eclipse | a class-based roguelite where you fight waves of enemies and start fresh each run. |
| Killzone | an open-world looter shooter where you scavenge, complete faction tasks, and extract with your cash before you lose it. |
| Group bonus | joining the official Roblox group gives you ten extra stash capacity in Killzone. |
Survival basics that apply everywhere
Check
Both modes share the same underlying character systems, so understanding them once covers you in either operation. Ignoring any one of these will quietly cost you a fight you should have won.
- Health never starts above 100 bring a Trauma Pad or Bandage so you can recover between fights without hunting for a merchant.
- Limb damage is separate arms and legs have their own health bars, and losing a limb cripples your movement or cuts off zipline access entirely until you die or buy a cybernetic replacement from a merchant.
- Downed state is not death while downed you can be revived, carried, or executed, so communicate with teammates the moment you drop.
- Stamina drains faster in combat sprinting, parkour, and melee all pull from the same bar, and it refills slower while you are in a fight.
- Dehydration cuts stamina regeneration significantly.
- Famine cuts health regeneration a famished character heals slower at the worst possible moments.
Movement and parkour
Tips
Parkour is how you move through both the Blackout District and the Final Eclipse maps. These habits are worth building from day one.
- To climb a ledge, get airborne and make contact with it, then either boost up or drop down.
- Ziplines let you cross sections of the map quickly and you can fire back while riding one, though scoped aim will be blurry.
- Coyote jumping extends your jump distance — run to a ledge, wait until you just start to fall, then press jump; a whoosh sound confirms you did it right.
- Jumps and slides have a cooldown that resets if you pause for about half a second.
- Hold crouch to stop yourself from grabbing ledges, which is useful when constant latching is slowing you down.
- Coyote jumps are blocked if your equipped gear pushes you over your weight limit.
Killzone — making money and staying alive
StepKillzone drops you into the Blackout District with other players and hostile NPCs. Your goal is to earn cash, complete tasks, and get out with it. The district punishes carelessness.
- Start with Cargo Ambush it has no level or reputation requirement, pays $600 to your stash, and teaches you how Broker tasks work.
- Loot containers and corpses cash from looting goes a long way early; turn Valuables in to Brokers rather than carrying them as items.
- Kill military scouts around the map they can drop keycards, and keycards open higher-value locations.
- Use your stash terminal deposit cash and rare items at terminals scattered around the map so a death does not erase your session's earnings.
- Do daily and weekly challenges these give more XP and cash than almost anything else and stack the longer you complete them consistently.
- Build reputation toward a faction once you have enough reputation you can join a faction, and reaching maximum reputation in any faction unlocks further progression; faction raid missions pay $25,000 each.
Keycards and high-value locations
Summary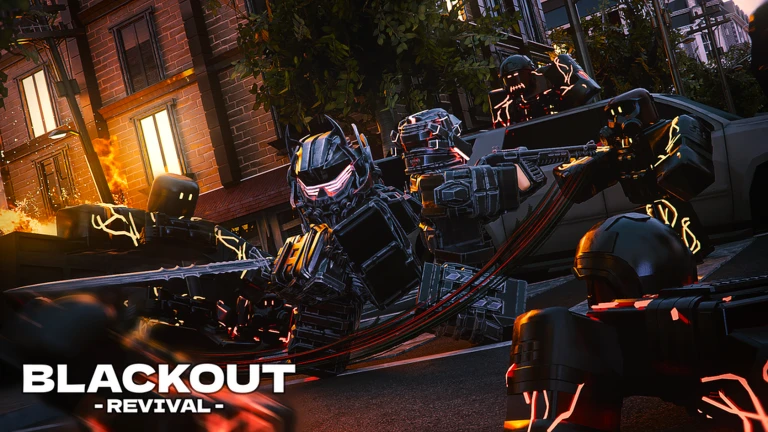
Keycards drop from military NPCs and Cargo Ambush crates. Each color opens specific doors, so knowing what each one does stops you from saving the wrong card for the wrong location.
- Purple keycard opens the Military Outpost exit, shipping containers, certain Metro Station rooms, and the airdrop.
- Green keycard activates the Metro Station Lockdown, which can reward more cards and gear.
- Blue keycard opens the Bunker; you need two to both enter and exit.
- Orange keycard opens a Laboratory full of military NPCs, powerful weapons, large amounts of valuables, and Flare Guns; bring at least two Gas Masks for the toxic gas inside.
- Red keycard used inside the Bunker to open the contraband weapon room or to start the Wave Defense for Operator Gear parts.
- White keycard given by a Broker when you accept Cargo Ambush; the party leader uses it to open the supply crate.
Gear, weight, and armor
Tips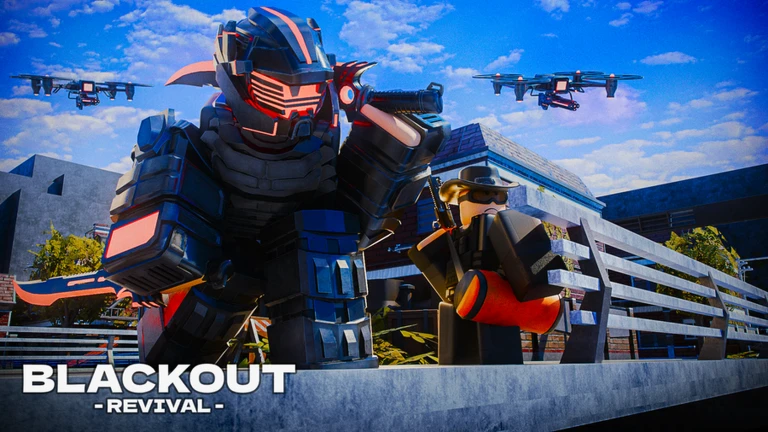
Gear slots cover head, face, body, back, and legs. Each slot accepts only one piece at a time, and heavier loadouts carry penalties you will feel immediately in a fight.
- Armor damage reduction depends on the armor penetration of the incoming hit — high-penetration weapons cut through protection significantly.
- Some gear pieces increase your maximum weight cap, which lets you equip heavier armor without hitting penalties.
- Backpacks come in Small and Large varieties and sit in the back slot, so wearing one means giving up anything else in that slot.
- Night-Vision Goggles were repriced to $200 as of the December 16, 2024 update.
- If you lose a limb in Killzone, you can buy a cybernetic replacement from a merchant rather than waiting to die.
Access Denied — the endgame raid
WarnThis is a five-star quest available only in the Autumn and Spring seasons. It requires a party of one to five players, Level 20, and 100 Influence to start. Completing it pays $100,000 split among the party plus at least one Commander Gear piece, with a small chance at Photon Blades or a Photon Accelerator.
Glossary
Glossary- Roguelite
- A mode where each run starts fresh and progress from a failed run carries over only as score, not as kept items or upgrades.
- Stash
- Secure storage you access at terminals around the map; cash and items deposited here are safe even if you die.
- Bounty Card
- An item that drops from high-bounty players; turn it in to a Broker for a cut of the bounty in cash.
- Contraband
- High-tier gear and weapons that go beyond standard equipment and are mostly found in locked areas or rare drops.
- Influence
- A reputation-like currency earned through tasks and kills; required to join factions and unlock certain quests.
- Coyote Jump
- A movement technique where you press jump just as you step off a ledge, giving a speed and distance boost to your jump.
- Downed State
- When your health hits zero you fall but are not immediately dead; teammates can revive or carry you, or an enemy can execute you.
- Combat Tag
- A status that marks you as being in an active fight, which slows stamina recovery and affects certain gear bonuses.
Common questions
FAQWhy does everyone in Killzone attack me even when I'm not doing anything?
The game rewards aggressive play, so most players will treat any stranger as a target regardless of what you are doing. Gathering friends to help is described as invaluable for surviving in the district.
Why can't I find the Merchants and Brokers where they were last time?
Merchants and Brokers move between servers, so their locations change each session. Terminals, however, always stay in the same spots on the map.
What is the fastest way to level up as a beginner?
Completing your daily and weekly challenges gives the largest amounts of XP and cash available at one time. Check the challenge list near the leaderboard every session.
Why does the Orange Keycard not work on my beginner server?
Some items, including the Orange Keycard, are disabled on beginner servers.
Game updates can change what is on this page. If you spot something, get in touch and let us know.