Studio District | Guide: Getting started in the studio
About
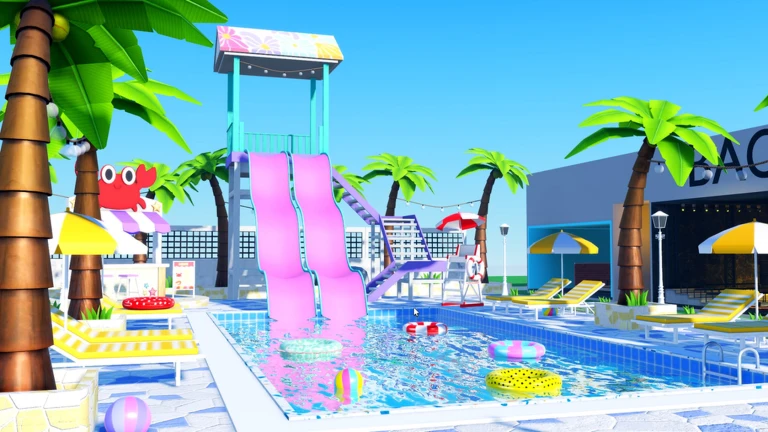
OverviewStudio District is a Roblox photo studio where you dress up your avatar and take pictures using green screens, pose tools, lighting, and filters. This guide covers how to get started, how to use the tools, how to shoot with friends, and how to fix common problems.
What is on this page
Contents
Player notes and tips
Found a useful trick? Share it with everyone! Notes with screenshots are welcome!
Write a guide note
📸Studio District | (PhotoShoot x Green Screen)
Getting started in the studio
Step
When you join the game your avatar spawns at the starting point. From there you can head straight to the catalog to change your outfit, hair, and accessories before you touch a camera.
- Open the catalog pick an outfit and look that fits the kind of photo you want to take.
- Explore the map walk around to find the photo booths, green screen areas, and background sets before you settle on a spot.
- Pick your shooting area choose a booth whose background or lighting matches your theme.
MetaNew Player Survey

The next survey is being prepared.
Core shooting tools
Check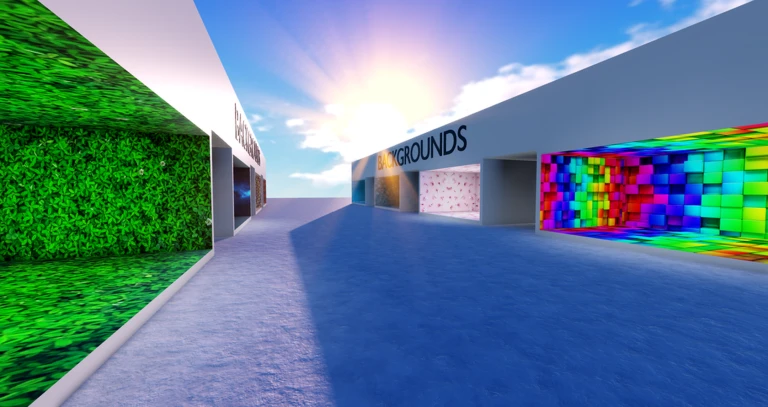
The game gives you everything you need to produce a clean, professional-looking shot without spending anything. Learning what each tool does and combining them is the real skill here.
- Green screen stand in front of it when you plan to swap the background out later in an image editor like Photoshop or Paint.
- Pose tools the advanced system lets you rotate, offset, and click individual limbs or the whole body to get exactly the position you want.
- Lighting options adjust the light in your booth to change the mood of the image.
- Filters tweak colour and atmosphere after shooting.
Shooting with friends
StepThe game is multiplayer, so you can shoot alongside friends or pose together in the same frame.
- Match outfits coordinate clothing so the group photo has a consistent look.
- Pick a booth together choose a space large enough to fit everyone in the frame.
- Line up your poses using the same or complementary poses across all avatars ties the image together.
Glossary
Glossary- Green screen
- A solid green background you stand in front of so you can swap it for any image you want using an external photo editor.
- Pose tool
- The in-game system that lets you rotate, offset, and click individual limbs or your whole avatar body to hold a specific position.
- GFX
- Short for graphics; in this context it means high-quality images made by combining Roblox screenshots with editing software.
- Photo booth
- A dedicated shooting space in the game that comes with its own set, background, and lighting.
- Filter
- An in-game adjustment that changes the colour tone and overall atmosphere of your photo.
- Catalog
- The in-game shop where you change your avatar's outfit, hairstyle, and accessories before a shoot.
Common questions
FAQDo I need to spend Robux to use the main features?
No. The camera, green screen, pose tools, lighting, and filters are all free.
How do I replace the green screen background with a different image?
Shoot your avatar in front of the green screen, then take that screenshot into an external image editor such as Photoshop or Paint. Remove the green areas there and drop in whatever background you want.
Are there any working redeem codes for this game?
This site tracks the active codes for Studio District and updates them automatically. Check the codes section on this page for the current ones.
Game updates can change what is on this page. If you spot something, get in touch and let us know.